Simple Tips to Improve Your 3D Modeling Workflow
Are you beginning with your first 3D modeling project, or are you an experienced 3D modeler? There are many things to consider while trying to improve your workflow. Getting the workflow sequence accurate is most vital. Following these tips can help you recognize what needs to be done first, understand different stages of 3D model creation. Here are the best ways to optimize your 3D modeling workflow.
How to Improve 3D Modeling Project Workflow Process
Learn the Software Interface
 Learn the interface
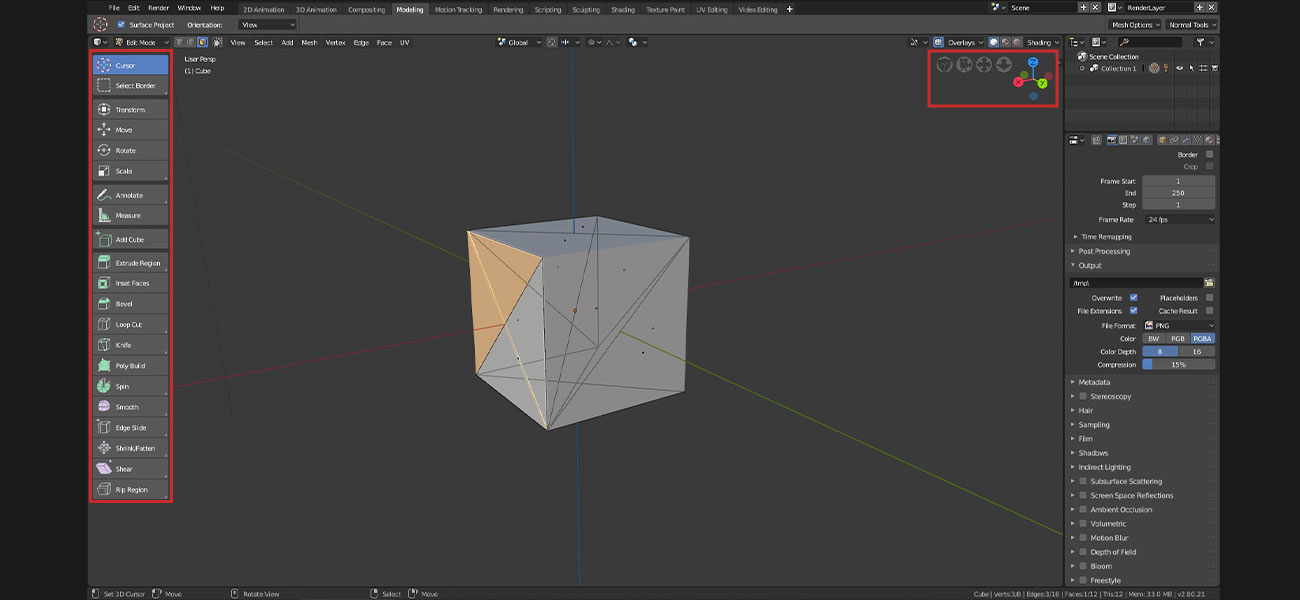
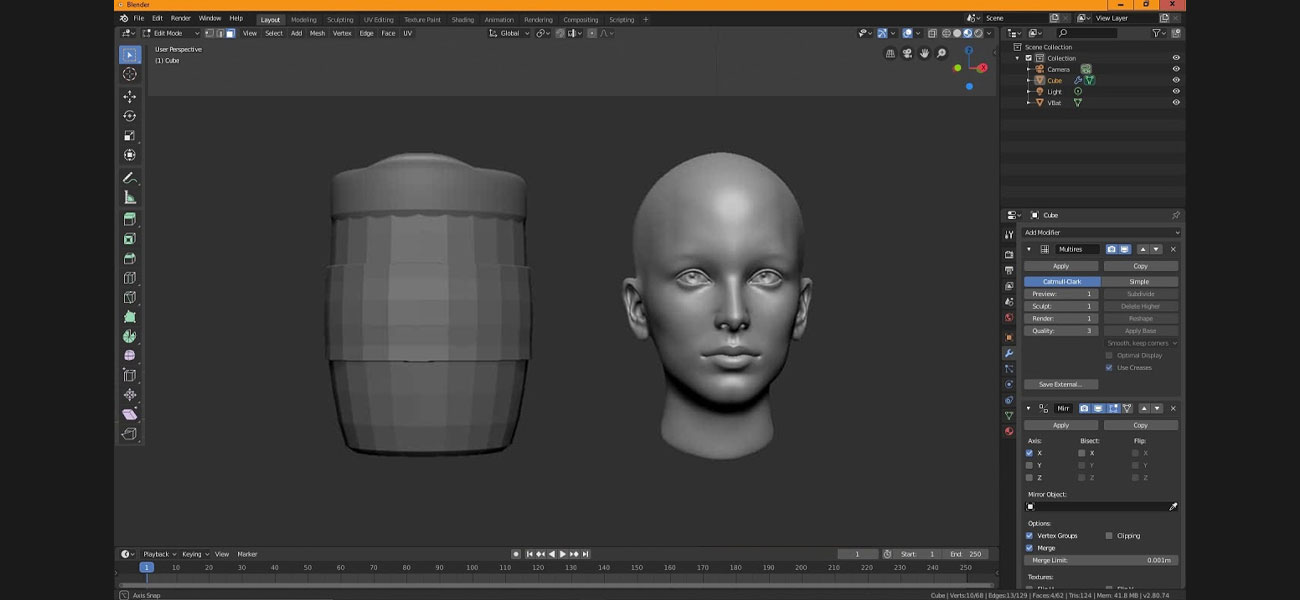
Before starting to make a 3D project, the most vital aspect is about learning the interface. You have to know where all the tools are and how they are used. It would be best if you spend time learning the basics first.
It will have a significant impact on your productivity. However, understanding them thoroughly can make you confident in using complicated 3D software.
Understand the Importance of 3D Assets
 Importance of 3D assets
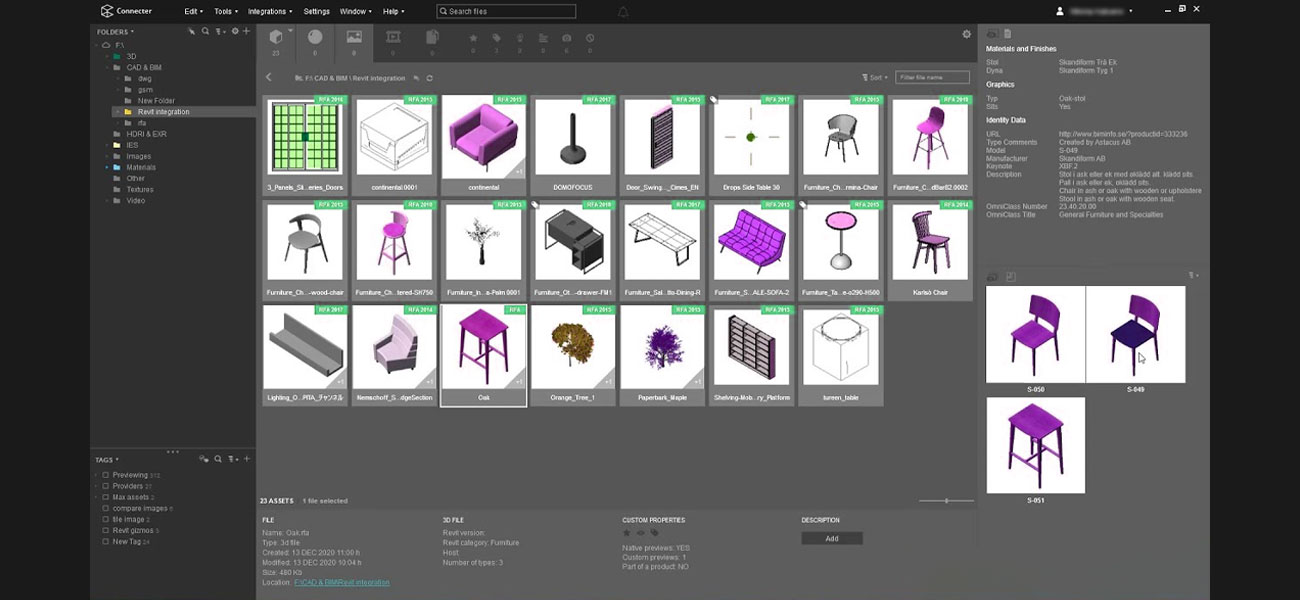
3D assets range from different small background props to the main character. It would help if you understood the importance of the support and know-how handy they can be in your more complete projects. A viewer or a gamer spends more time looking at the asset, which determines how detailed your model should be. This will help you estimate the time required to create it.
Before starting the 3D modeling process, make sure you research more and more about the images related to the assets you want to make.
Using the Shortcuts
 Use the shortcuts
There will be different shortcuts you can quickly implement into your workflow. Using those shortcuts will give you a smooth and efficient 3D digital modeling experience. If your software allows customization of the workspace, you should not miss it. You have to figure out the most used tools and add them to your workspace. This will make things easier and quicker for you. There are pre-made textures, scenes, and objects that can be downloaded from the internet.
Auto Save
 Autosave
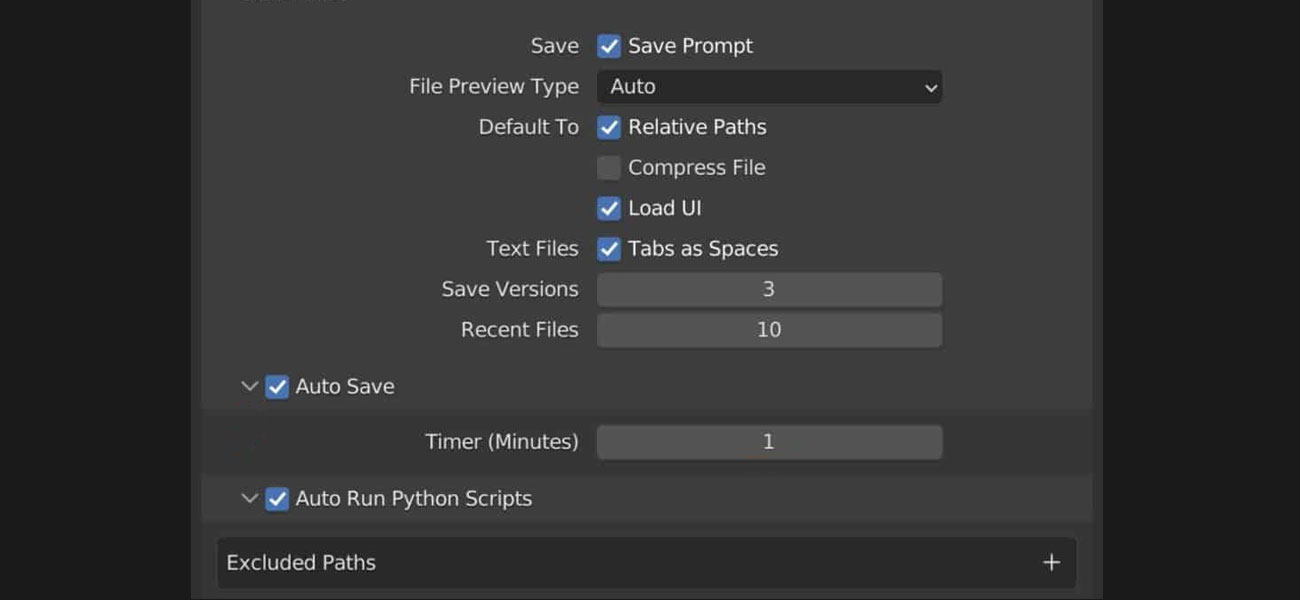
While using more and more scripts, make sure this feature is on. Set the saving period time to suit your modeling speed. Regardless of any Auto save feature, the best advice is to keep up with the habit of manually saving to a new file after each significant step.
Use the Best Software and Build a Basic Model
 Build basic model
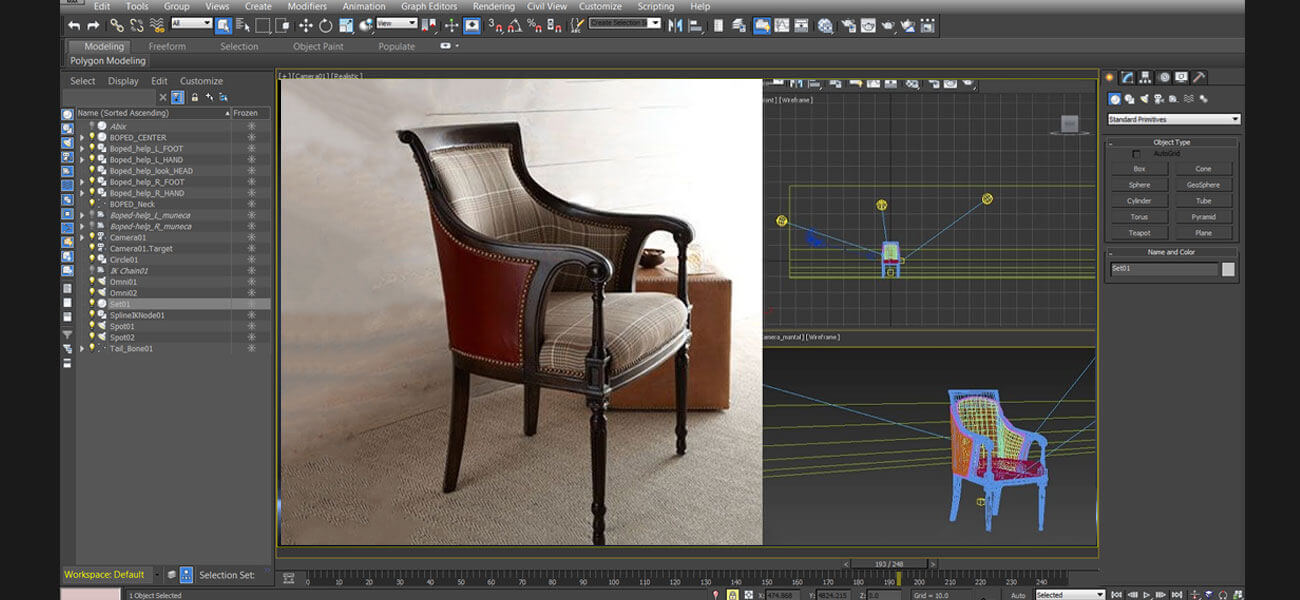
Now, as you have a basic idea ready, you can start with the 3D modeling software. To keep things simple, you can opt for box modeling. This will allow you to sculpt and refine a simple shape into an asset to be created. Adding details and refining the work as you go will be possible by subdividing it into different polygons. Polygons having four edges and four vertices are termed quads, and working with them is the best for an excellent final result.
Ensure you go back over your work and see that the polygons are as square as possible and do not have more than four edges.
Enhance Lighting
 Light Enhancement
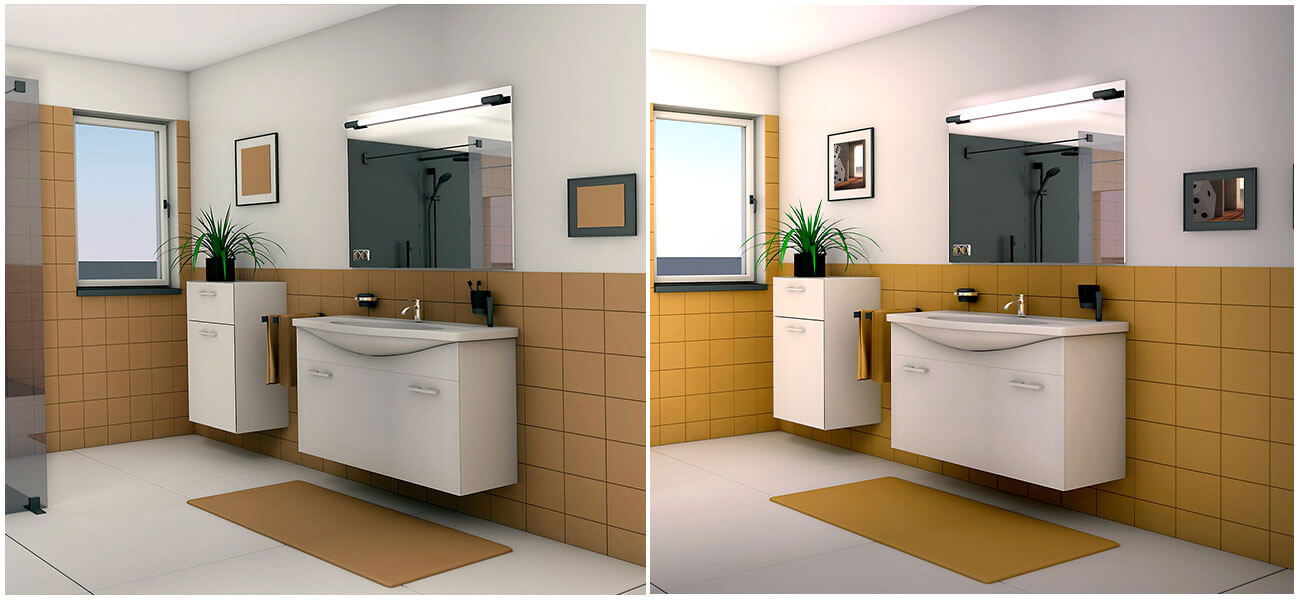
Model lighting is as crucial as getting the final output right. Advanced software has an option to click the create light button. However, adding lights on your own will make your model stand out. You have reference images to help you understand how the objects are lit. You have many online tutorials to get a grip on the process of burning your 3D models or 3D scenes. You can opt for different kinds of lighting depending upon the object.
In the case of 3D creations like bulbs, you have to use Omni lighting. If you are working on distant light sources like the sun, you have to use directional lighting. To showcase the dark and lightweight models, spotlighting can be helpful. Adding lighting into your 3D workflow will make your models look professional and personalized.
Useful Article : 3D Lighting Techniques: 8 Types Used for a CG Lifestyle Rendering
Use and Discover
 Discover new things
A thorough study of the software and taking time to learn all the functionalities and tabs will be profitable. This will help you to discover many new things. You can use all the functions and check them to understand their impact on the model.
Don't forget to create a copy of the model you worked on and then try out the new ones.
3D Texturing
 3D texturing
3D Texturing is making a model more realistic by focusing on the lighting and changes in texture. When light falls on different materials, it has a unique effect. It helps models to look the best. Getting perfect texture needs research and understanding of how the asset would finally look after digital texturing.
3D texturing software makes it possible to create textures and helps designers make procedural text maps. Tweaking these can help reflect different materials. You can save and reuse the assets for other projects according to your specific needs.
Reference is Essential
 Reference is essential
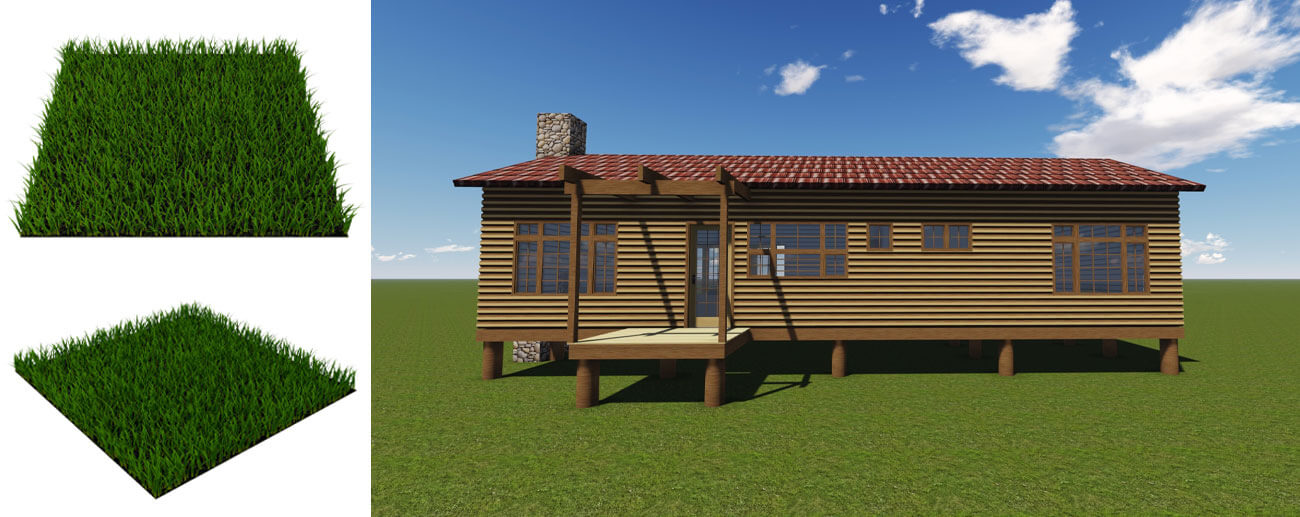
Also referred to as instancing is a powerful tool that allows 3D artists to clone a single model. Creating complicated background scenes, including forests and cityscapes, gets more manageable. It cuts down the amount of computer power required when it comes to rendering. This is because there are clones rather than unique objects.
Collaborative working will make using external instances easy. If you need to create buildings, you can clone those models and create different best meshes. This ensures background and character assets appear throughout a game.
Easy Rendering
 Easy Rendering
This will showcase how you will have your final creations in the game or the video. The 3D rendering software brings you the render presets that can be changed by the artists and ensure diverse outcomes depending upon your requirements.
At this stage, you will be able to determine the resolution and size of the 3D asset. This will help you to get a clear idea of what your outcome will look like. You can take your time to understand more about the shading process. It also helps in learning more about high dynamic range imaging (HDRI) to influence the model's look after it gets complete.
Related article : Difference Between 3D Modeling and 3D Rendering
Conclusion
Adding realistic materials and textures is essential to leveraging your 3D environment. Ensure stunning visualizations depending on the specific needs with the help of these 3D modeling tips.
So, it's time to start working on the software to improve your workflow. Hope this article has explained how to use the user interface and navigate in a 3D environment. Start adopting these tips into your modeling workflow, and your next project will start well.
Whether you are a beginner or an intermediate, it is better to collaborate with expert 3D modeling companies who provide the best 3D modeling services. This benefits your workflow, saves time and money, and improves efficiency. Good luck!
Get in touch and get to know more about the process.
Contact Us