Creation of 3D Textures: Techniques, Software, and Tips
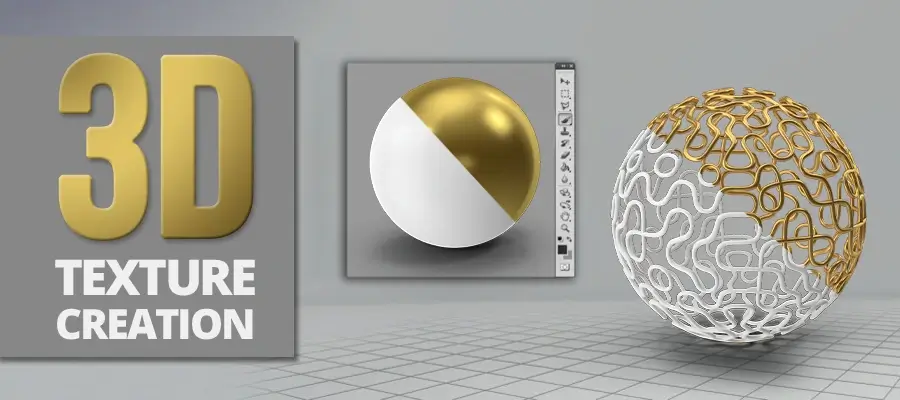
3D textures help a great deal in making a model appear more photorealistic and vivid in the digital space. With 3D texturing, you can showcase different features of the modeled object, such as the material that it is made up of, smaller details such as scars, bumps, cracks, etc., and lighting effects, such as reflection, refraction, etc.
Since texturing play a great role in adding realism to the finished model, both are crucial for 3D model creation. However, in this article, we’ll be only discussing how to create textures and the different software or tools you can use for creation. Now, let’s get started.
What is 3D Texturing?
3D texturing is the process of adding finer and natural details to 3D models, like texture, materials, color, designs, wrinkles, and other vital surface attributes. It is considered one of the crucial parts of the 3D modeling process.
What are the Different Types of 3D Textures & How to Add Them to a 3D Model?
Texture defines the color, pattern, surface, and other visual details of a 3D model. To apply texture for a 3d model, 2D image editing and painting needs to be done with the help of the best texturing software like Adobe Photoshop, Autodesk Mudbox, Quixel Mixer, etc . to make textures from the beginning or edit existing images. Below, we have categorized 3D textures into 5 different types and explained the development process for each.
Nature
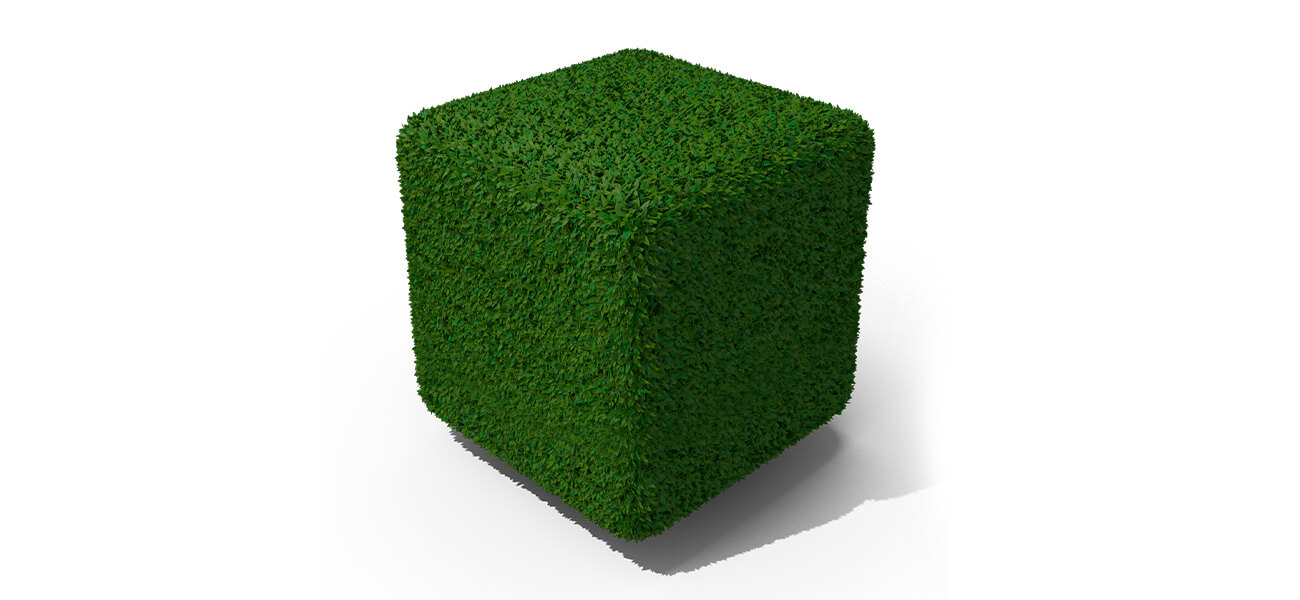 Nature
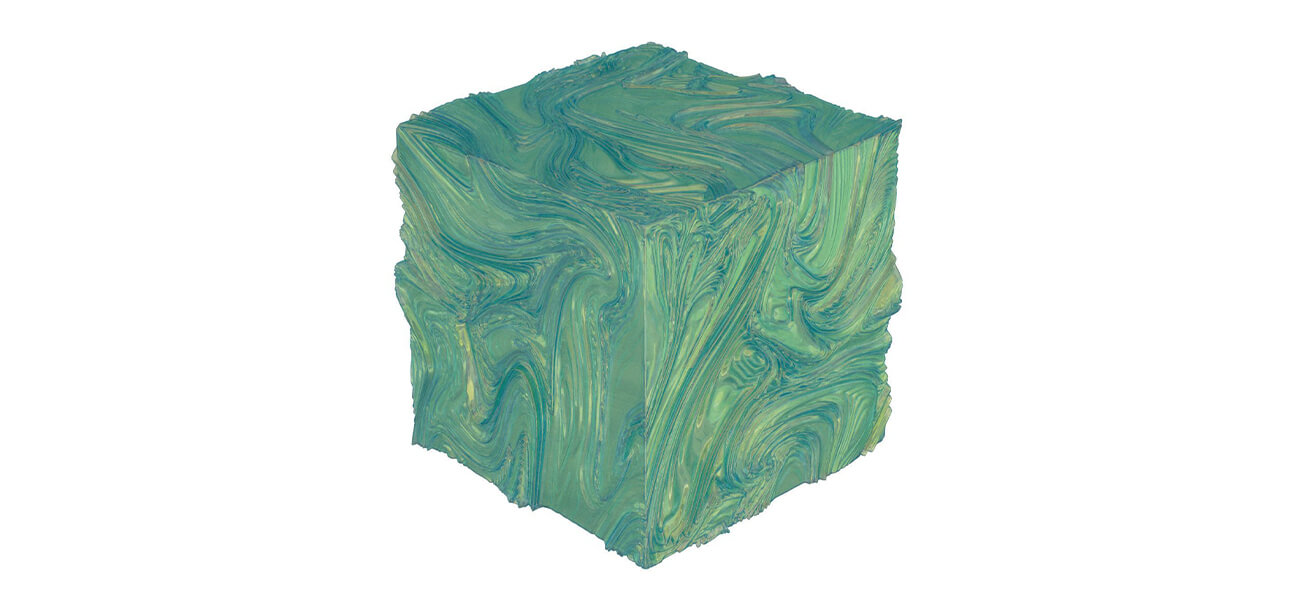
Let’s start with an easy texture first. For example, flow animation is like that of lava. To drive the flow, you can use the exposed parameter from the y-axis of the Transform 2D node. Similarly, for carrying out the flow distortion, you can use a Directional Warp node along with a blurred procedural map.
When it comes to controlling the base color, emissive, normal, metallic map channels, or height, you can use a unix pattern. Also, to control the height and dry state of lava, you can use the exposed level nodes present on the base pattern.
Tips to Create Nature 3D Textures
-
Flowing pattern
For creating the Lava pattern, you can multiply two Grunge maps using the Blend node and distort them with the help of a Perlin noise. Now, place the Transform 2D node before distortion. You’ll see the flowing pattern when you shift the y-axis.
-
Lava stretching
For achieving the stretching lava form, you need to multiply the second pattern. To do this, take the 2nd Grunge map. Now, try adding the Transform 2D. Then, multiply with the Blend node before the distortion. Finally, shift the ‘bonus’ y-axis to slide to the second pattern to create an illusion of stretching.
-
Procedural textures
To make the lava look like the sun’s surface, you can use two procedural textures using Substance 3D Designer. Now, blend them and distort using the Perlin noise. After that, color with the Gradient Map.
-
Flowing marks
To make the lava look as if it is in a dry state, add flowing marks. You can do this by blending the filamentous pattern in the Add mode.
-
-
Urban
 Urban
UrbanThe first thing that you need to do while creating a substance is to make a list of the required materials and create a base for each. As compared to materials, it’s more important that you pay attention to transitions and masks that you’ll be using to put them together.
The next step is blending. You can blend almost any material, which can fall into one or more categories such as height, environment, or weathering. However, to carry out proper blending, you need to obtain information regarding the Height map, Curvature map, or Ambient Occlusion map.
Make sure to know them beforehand so that you can develop both your main materials and map together. Let’s say, your material needed a Height map and you didn’t create it. In that case, you’ll either have to go back to the beginning of your project to create it or convert your current maps.
The first option will require adding the edits in a step-by-step manner just like you’ve added changes to your material. However, the second option that requires map conversion will result in a loss of accuracy.
Tips to Create 3D Urban Textures
-
Floral designs
You can make use of solid base shapes to create floral designs. Besides, the same base shape can also be used with tiling, circular splatters, warps, and symmetry to create other shapes as well.
-
Substance
If you wish to create a plaster-like substance, then it will need a mask. Also, the area on the edge will be more broken or damaged than the rest. However, this will help you to carry out adjustments easily as you only need to blend two materials and not three.
-
Tools library
Sure, there won’t be a default. However, you can do it. If you need to blend two materials depending on their height, try using a pixel processor.
-
Early optimization
To make the processing faster, you can use a full resolution node. It can also help to get a minor blur into your noise. For example, let’s say you took about 15 seconds to make a change, with resolution optimization, you can make it within 5 seconds.
-
-
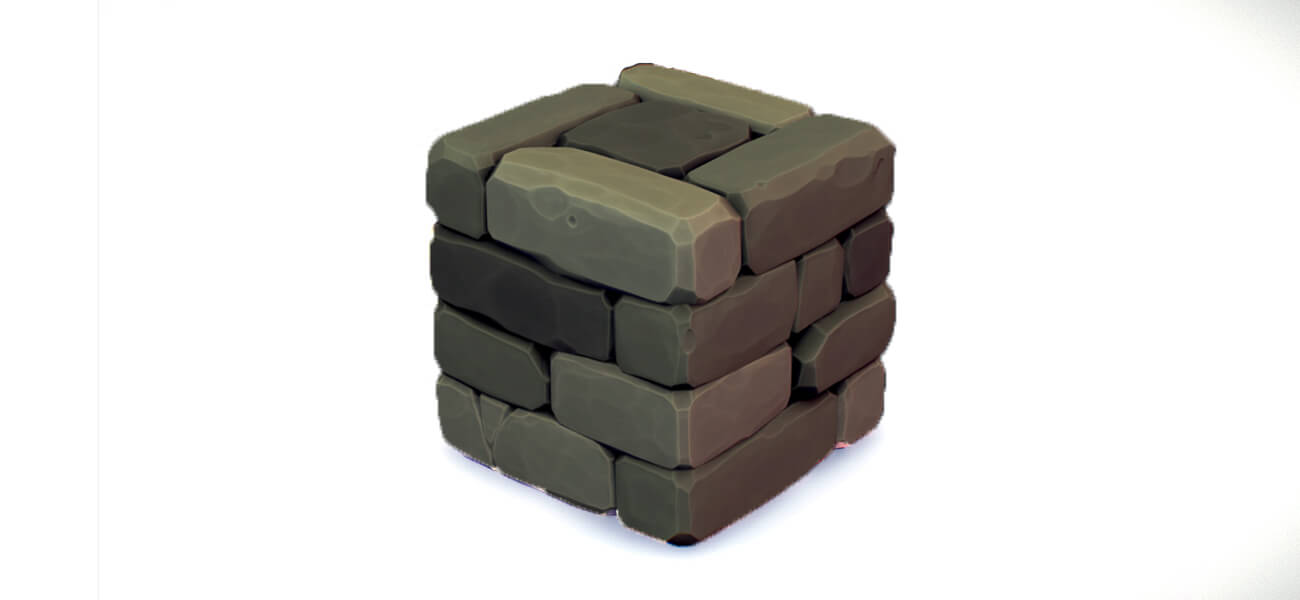
Stylized
 Stylized
Suppose you’re planning to create a hexagon world map that has rivers, forests, grass, mountain, etc. placed randomly. In that case, the best way to create it is by generating multiple sub-materials for every terrain element. Then, layer them through sensible masking.
To ensure that the forest and mountains don’t appear unusually cut off, you can try expanding and blurring the mask. You can also try overlapping the borders to give them a natural appearance. For this, you can use Vector Warp node and Mark erosion.
Tips to Create Stylized 3D Textures
-
Hexagon Mask
An easy way to develop a hexagon mask is through Tile Sampler. Also, using the Noise node will help you to determine the visible titles. Besides, do remember that the smooth noise will provide a natural feel compared to that of random placement.
-
Dilation and Erosion
To simulate morphological operations such as Dilation and Erosion, you can use Bevel node and then Histogram Scan node. It is especially beneficial while shrinking or expanding a mask.
-
Vector Warp
The Vector Warp node when used with a noise on the mask can help to blur the borders.
-
Dynamic Gradient
This node can be helpful if you are creating textures that are wood-like. It can be also helpful if you are planning to shape a line of trees, i.e., the forest.
-
Edge Detect
For visualizing the skeleton of the input mask, you can use Bevel node with a negative distance. For creating a mask that looks like a river, you can use the Bevel node along with Edge Detect node. Finally, mask the center.
-
-
Fantasy
 Fantasy
Fantasy textures are often used in games and movies. Let’s say you want to create a stone slab with metal frames. Also, it has some runes that are inscribed on its edges. So, the first thing that you need to do is to find a reference image.
Now, use the Substance Designer to lift off a gradient from different parts of the image. It will ensure that you have the exact color and color variations. Use the Brick Generator to create the shape of the tiles and from the same node, create the runes.
Tips to Create 3D Fantasy Textures
-
Detailed shapes
Use Directional Warps to create shapes. To offset them, you can use the copy of Brick Generator. If you wish each slab to have a different value, you can set the Height Variation to Max and Interstice/Bevels to 0.
When it comes to creating details, a good rule of thumb is to work from larger to smaller details. Finally, use noises to refine them in a way that exactly showcases the type of material that you are using, be it dirt, crack, dent, etc.
-
Wear and tear
The Dirt and Metal Edge Wear nodes can be great at creating wear and tear. Just try creating a Normal map depending on the Height map and use it as an input for Regular Curvature and Smooth Curvature nodes. Blend them to get fine details and hard lines as per your requirement.
-
Color generation
Here’s a trick for generating the color of the stone. Add different color gradients into the Dynamic Gradient node. A position slider will be available, which you can use to cycle it through different stone types.
-
Color picker
It is also possible to use colors right from the reference images or concept art. Using them will ensure that your assets match the project’s demand. So, just drag the Color Picker along the image and pick up the desired gradient.
-
Emissive parts
To create emissive elements or parts, use a gradient that is based on the stone noise. To make it look like veins, you can select only certain parts instead of all.
-
Layering
Now, bring it together by layering depending on the frame, mask generators, stone, etc.
-
-
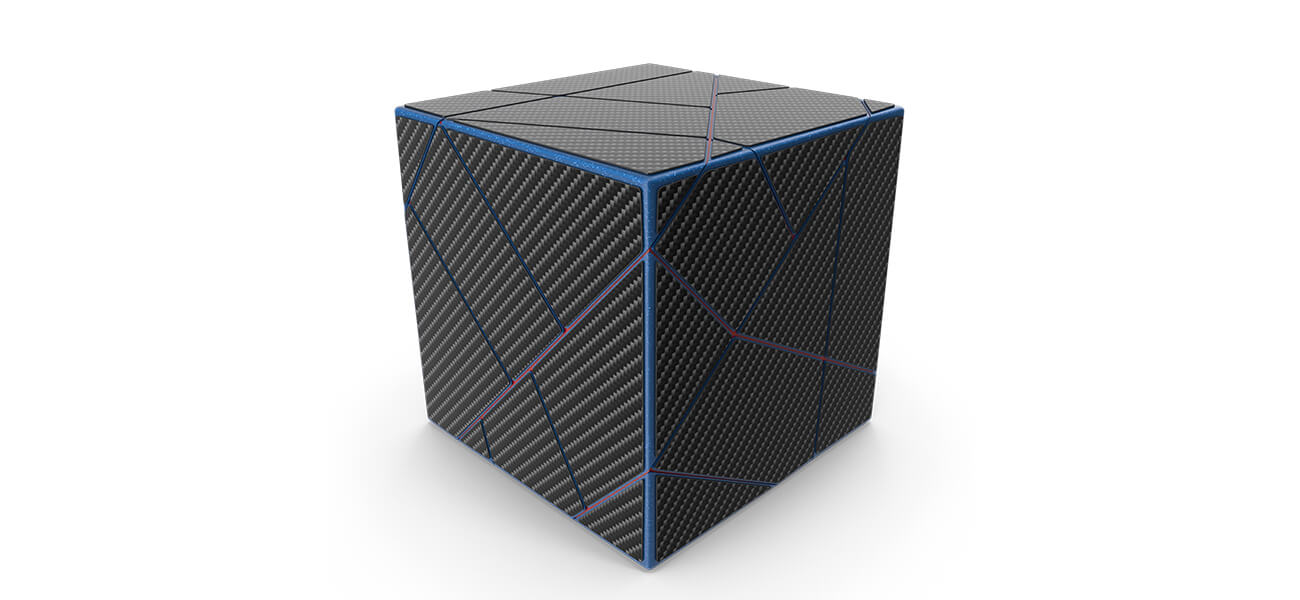
Sci-fi
 Sci-fi
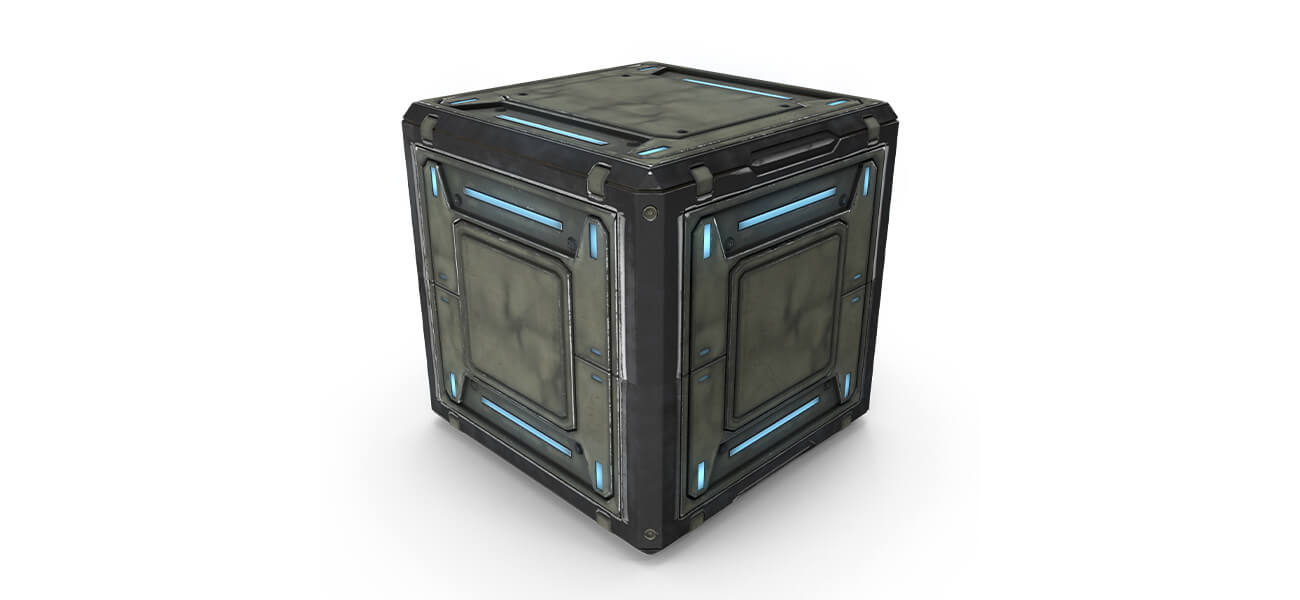
Creating sci-fi texture is a creative process and will require you to plan the whole skeleton for the material before carrying out the design. The designing process will be quite similar to the process of creating complex 3D models from scratch.
Begin with figuring out the features that your substance will possess and then grouping them into the nodes. Keep experimenting as you may discover something that may be helpful in your future projects. Also, note them down so that you don’t forget.
All the good materials developed with Substance Designer will have the flexibility feature. Besides, flexible materials can be reused, would save time, and offer a variety of possible applications.
Tips to Create Sci-fi 3D Textures
-
Blend patterns
For creating geometrical patterns, you can transform and blend different shapes. To move the shapes freely, you can disable Tiling, which would be available in the 2D Transform node. Now, blend patterns and customize layers as per your choice by creating switches and exposing their parameters.
-
Leaks & dirt
For creating the leaks and direct effects, you can use the Ambient Occlusion node. Now, try blending it with a Diffuse map with the help of a Gradient map. Also, add to the roughness layers.
-
Base color scheme
Instead of focusing on the color outputs, you first need to pay attention to creating a grayscale. You can develop a base color scheme by using the Gradient map on it.
-
Histogram scan
With the help of Histogram scan, you can easily extract the mask from the grayscale image.
-
Top 3D Texturing Software Programs
-
Autodesk Mudbox
Runs on: Windows, Linux, macOS
Availability: Free & Paid
Pricing: $15/m or $100/y
Trial Period: 30 days
-
Blender
Runs on: Free BSD, Windows, Linux, macOS
Availability: Free
Pricing: None
Trial Period: None
-
ArmorPaint
Runs on: Linux, Windows
Availability: Paid
Pricing: $19 (one-time)
Trial Period: None
-
Adobe Photoshop
Runs on: macOS, Linux, Windows
Availability: Free & Paid
Pricing: $22.99/m
Trial Period: 7 days
-
3D-Coat
Runs on: Windows, Linux, macOS
Availability: Free & Paid
Pricing:
- Permanent - 3DCoat 2024 (Node-locked) €379
- Rent to own - 3DCoat 2024 (Node-locked 11 payments) €41.6/m, 3DCoat 2024 (Node-locked 7 payments) €62.4/m
- Monthly subscription - 3DCoat 2024 (Node-locked) €20.8/m
- 1-year subscription - 3DCoat 2024 (Node-locked) €169.85 (one-time payment)
Trial Period: 30 days
Detailed Article : List of Top 10 3D Texturing Software Programs
Hope that the article was helpful enough to provide an overall idea on creating 3D textures and the top 3D texturing tools you can use. If you wish to become a pro texture artist, you must learn these tips and keep practicing.
However, don’t limit yourself to only employing these tips. You must experiment with different tools as well. Also, try working on different projects, keep an eye on your competitors, and learn from the critiques. It will help you in improving your skills.
If all of it seems a bit overwhelming, you can buy textures. If not, you can also outsource 3d texturing services to a professional company that can create 3D textures for your project. Many large companies, filmmakers, and indie game creators use this strategy to save time.
Frequently Asked Questions
3D designing professionals typically use leading software such as Autodesk Mudbox, ArmorPaint, Adobe Photoshop OS, SelfCAD, etc. However, each software has its pros and cons, which may affect different users differently. So what may seem to be the best option for you may not prove to be the best option for others.
Texturing refers to the process of creating a realistic 3D model. It is the process through which a model is given its unique properties.
A completed model appears realistic if appropriate material textures are used. The texture is defined as a pixel image that is created using a graphic design program. A texture has its own set of color, refraction index, and refraction parameter properties. Texturing is one of the most important stages of 3D modeling.
There are certain websites, including Free BPR, 3D Textures, Endless Possibilities, and Architecture Inspirations, from where you can get 3D model textures downloaded for free. However, at ThePro3DStudio, we do not encourage the use of free 3D textures as these are downloaded by multiple professionals and businesses because of which these are not considered ‘unique’. You should use unique 3D model textures that are specifically designed for your project. Our 3D artists can create appropriate model textures depending on your specific requirements.
Contact Us