Lighting Techniques in 3D Lifestyle Scenes Rendering
3D product visualizations are highly capable of attracting, impressing, and convincing potential customers to make a purchase decision more informedly. A significant part of 3D visualizations and representations is the “product lifestyle shot”, which showcases products to prospects in an immersive way, showing how the product will integrate and appear in their original lifestyle or living environment.
To make any 3D lifestyle scenes rendering a big hit, the first and foremost criteria is the lighting, because improper or disoriented lighting can adversely affect the quality of a 3D scene, thus downgrading the quality of the rendered shots. In a nutshell, lighting is a critical factor for successful 3D product rendering.
This is why any aspiring 3D professional must be aware of some of the 3D lighting tips and techniques to create photorealistic renders of 3D objects and scenes indistinguishable from real life. Curious to know them? Let’s begin!
What is lifestyle 3D rendering, and why is it so in demand?
Lifestyle 3D renderings or lifestyle shots are also known as “in-context” images that showcase a product within a styled scene through CGI. Often, this scene is created in 3D and replicates real-world environments.
Such renders can be leveraged across a diverse range of industries, such as eCommerce, furniture, real estate, architecture, fashion, automotive, and much more. These lifestyle scenes can be indoor or outdoor.
The best part of these renderings is that they add a wow factor to any product showcase and inspire the potential customer with a positive emotion to make the investment. Also, they help the prospects understand the best possible way to put the product to use and how it will enhance their surroundings, which is impossible in traditional shopping.
This holistic and innovative shopping experience is the prime reason 3D lifestyle renders are so in demand. Besides, this approach is also cost-effective for marketers compared to conventional photoshoots. Professional photography costs much higher and is way more time-consuming than creating 3D lifestyle shots.
Types of lighting ideal for 3D lifestyle scene
As mentioned before, lighting is a crucial factor in 3D rendering and can make or break a deal with a potential customer. If the lighting is perfectly balanced with shadows, depth, natural imperfections, and symmetry, it helps the 3D artist create more lifelike renderings that are sure to convert into sales.
Accurate illumination of a 3D scene can be achieved with multiple 3D lighting techniques. So what are those special techniques to create a jaw-dropping lifestyle 3D scene? We shall find out soon.
-
Volume lighting technique
This 3D lighting technique emits light from a specific point, and eventually, the light beams emitted are spread all over the surrounding area. The name of this technique comes from the fact that it illuminates those specific parts that fall within a particular set of volumes.
Volume lighting also takes a specific shape, following a “geometric prim” or simple geometric shapes like spherical, conical, cylindrical, cubical, etc. This technique is best for creating foggy or smoky special effects.
-
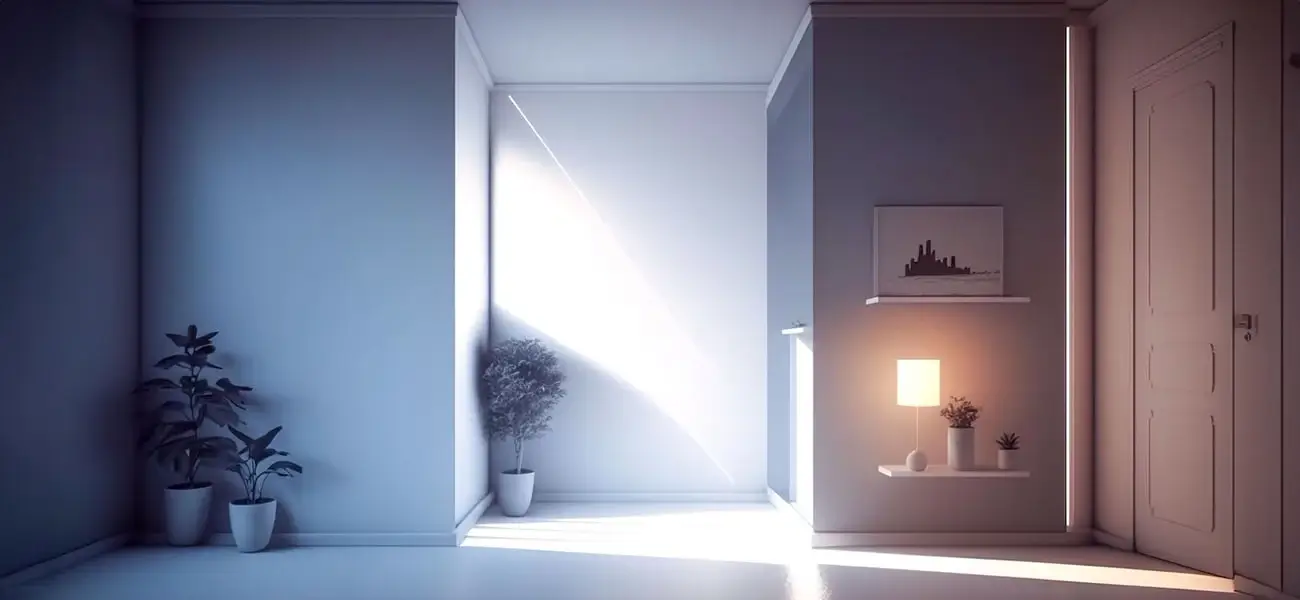
Directional lighting technique

The directional lighting technique is done in a way that creates parallel beams from a highly bright light source. The brightness and colors of these 3D beams can be adjusted either through special 3D rendering software programs or by regulating the position of the light source along the coordinate’s axis.
This technique is mostly used to replicate natural sunlight within a 3D environment in case it is about an outdoor setting. The beauty of this technique is that the more positional adjustments are made to the light source, the more natural the light appears. If you want to try your hands at this, an in-depth knowledge of 3DS Max lighting techniques will do the deal.
For example, if the light source is closer to the 3D scene, it will render the appearance of the scorching sun. If moved a bit further, the light becomes softer. If the angle is further reduced, the appearance becomes more like dawn or dusk, with an orange-ish tinge and long shadows.
-
Environmental lighting technique
The environmental lighting technique is a technique that emits 360-degree light wrapping around the entire 3D scene, imitating the entire environment, even the light sources that are stored in them.
Often spherical in shape, these lights produce the most natural-looking lighting that is difficult to generate manually. Professional 3D artists create environmental lighting in many ways such as by capturing the light source from within the virtual scene, using parametric system, or from an image.
-
Point or omni-lighting technique
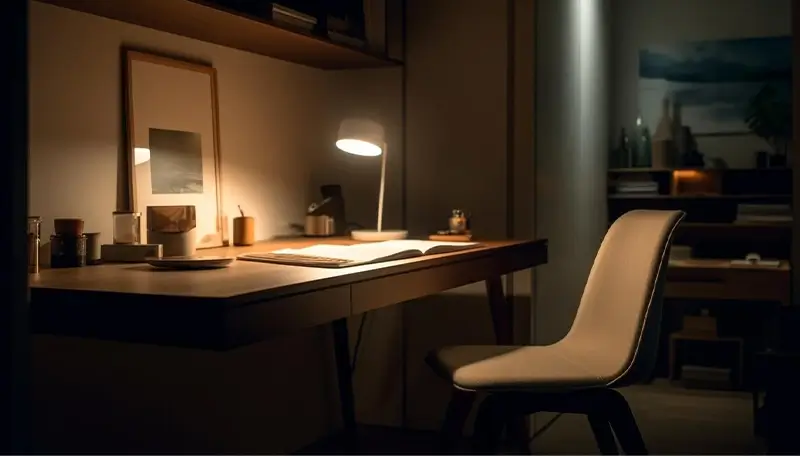
The point lighting or omni-lighting technique is primarily based on a smaller light source that illuminates every direction, making it perfect for replicating light from lamps, bulbs, candles, fixtures, sconces, etc.
The light beams do not have any specific size or don’t take any particular shape; they just add coziness to a 3D space and create shadows with blurry edges.
-
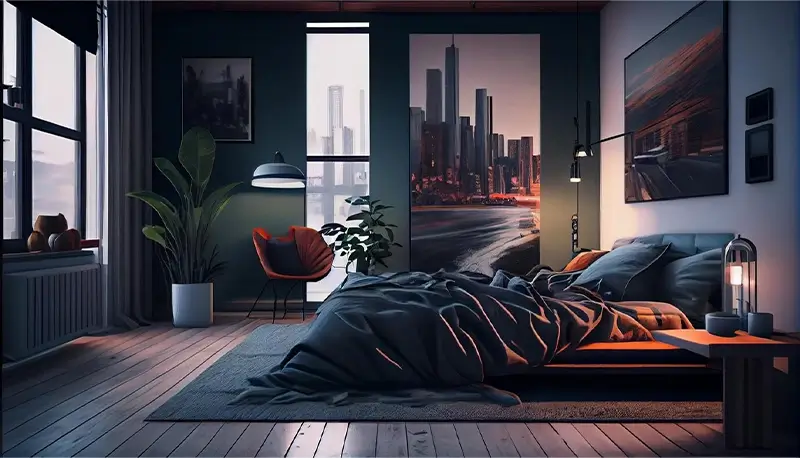
Global illumination technique
Although a bit more complex than the other techniques listed here, the global illumination technique illuminates the entire 3D environment or room to make the emitted light rays appear adequately natural and retain the room’s originality.
To generate these types of 3D lighting, the 3D artist needs to use a software that follows an algorithm for calculating a direct light source, bouncing light that is hit from every direction, thus simulating a highly natural-looking light sequence. This technique is best for producing shots that replicate any time of the day or night.
-
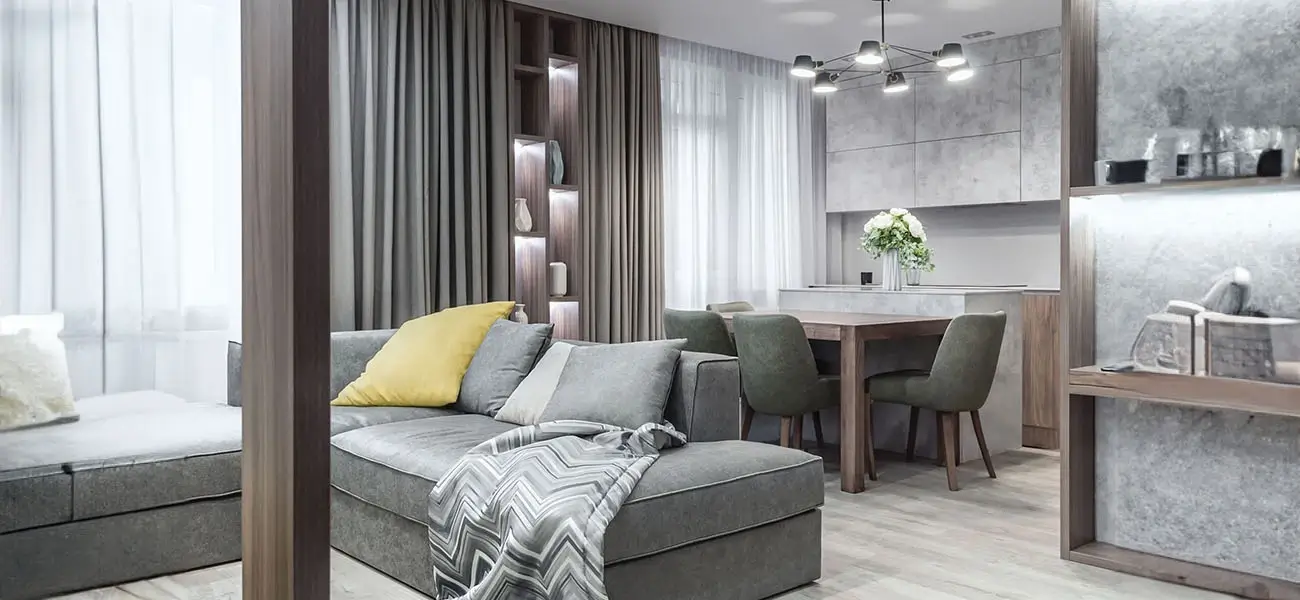
Area lighting technique

The area lighting technique produces a soft glow or light beams that spread over directions within a fixed boundary. It casts a diffused shadow effect with depth, making it ideal for lifestyle shots intended for products, architecture, and real estate.
This lighting technique is an exclusive 3D lighting illuminant that follows a specific flat shape and can cast rectangular or spherical-shaped light beams on a desired area. The diameter of the light trays and glow can be further adjusted using an advanced 3D rendering software.
Thus, it is perfect when someone wants to highlight a specific area of a room and is used to simulate cornice lighting, backlit panels, ceiling fixtures, etc.
-
Ambient lighting technique
This technique is best used by many 3D professionals to generate realistic soft ambient lighting within a 3D sequence devoid of any shadow.
It is also one of the most commonly used types of 3D lighting, usually paired with other one-directional lighting techniques such as point or omni lighting, spot lighting (discussed below), etc., to create the best results. Ambient lighting spreads in every direction of a room set up, adding a soft hue.
-
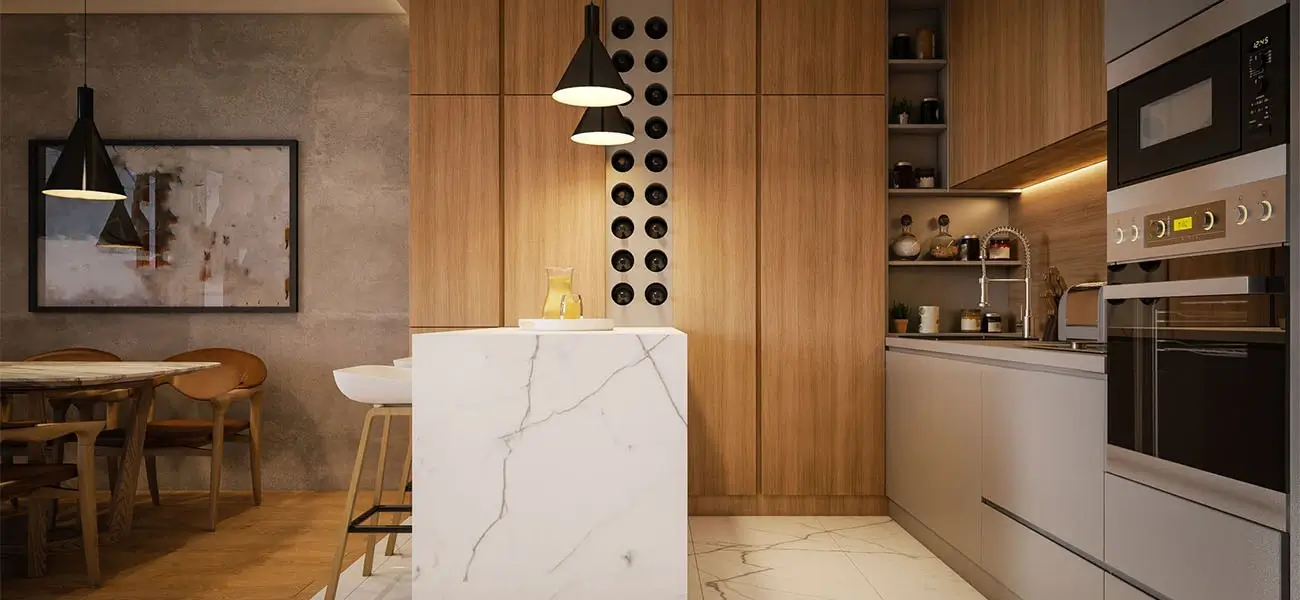
Spot lighting technique

The most cinematic 3D illumination technique is spot lighting, which takes the shape of a cone replicating a real spotlight. As the name suggests, the spot lighting technique produces a well-lit circular light beam with deep shadows that can be altered per requirement.
This specific lighting sequence works amazingly for eCommerce product hero shots, where the particular product is emphasized with all the details. This adds a dramatic statement to the product listing and helps it stand out from other listings, quickly capturing the onlookers’ attention.
Besides, this technique also marvelously simulates desk lamps, reading lamps, or street lamps, or other built-in lighting fixtures for interior or exterior scenes, respectively.
However, setting up the spotlights requires a good amount of technical and aesthetic knowledge. It can only be done by professional 3D experts or 3D service providing agencies that offer high-end 3D rendering services. Any error made can generate poorly emitted light, hampering the final rendered shots.
Wrapping up!
As mentioned at the beginning, 3D lifestyle renders are always a better idea than conventional product photoshoots owing to the much less time and costs involved in the latter.
Moreover, lifestyle renderings also have more value than white background rendered images. Because lifestyle shots allow prospects to see the products in their natural environment, understand their usability and aesthetic metric, and become emotionally inspired.
The above-mentioned techniques require advanced CG knowledge and high-end 3D design prowess; only a 3D specialist mastering the 3D lighting techniques can produce compelling lifestyle-rendered images.
Thus, it is always recommended for brand owners and eCommerce marketers to team up with professional 3D rendering studios with the necessary skill set and domain expertise, and understand the physics of light and shadow!
Contact Us