3D Rendering and Animation Resolution Guide
In the world of 3D, knowing and understanding the ideal size and resolution of your 3D rendering and animation project is important. The reason is that it will affect the quality of the final render when it will be later used for presentation. But, with all the various screen resolutions available, it can be hard to decide which one will be the most appropriate.
If you’re also confused with it, then you have just reached the right place. In this article, you’ll learn about what a resolution is and the differences between a low-quality resolution and a high-quality resolution. By the end of the article, you will also be able to figure out what resolution will be ideal for your project.
What is Image Resolution?
Resolution is defined as sharpness or clarity of the image. The basic unit of measurement for these images are pixels, which are a grid of tiny colored squares.
Every digital image consists of a resolution or rendering dimension, which is calculated by the number of pixels in [width] x [height]. For example, a resolution of 1000p x 500p means that the image render is rectangular in shape and has a width that is twice its height.
The screen resolution is calculated as pixels per inch or PPI. It refers to the number of pixels present in an inch on the digital screen. You may be also familiar with another term, DPI, which stands for dots per inch. The term DPI is used in physical printing and refers to the number of color dots in an inch on the printed photo.
et’s say you are covering a space of 1000p x 1000p with a 20PPI and 100PPI image. Both may take the same amount of space but the 100PPI image will be crisper. The reason is that images with higher PPI appear larger without sacrificing the quality.
Difference between a Low-Resolution and a High-Resolution Image
The main difference between a low-resolution and a high-resolution image is quality. An image with low resolution usually appears fuzzy, pixelated, or grainy. Details will be lost and you can notice the individual squares in the image.
On the other hand, a high-resolution render will provide better image clarity and details. Generally, for rendering and animation, high-resolution images are preferred.
Below is an example of a low-resolution and high-resolution image render. You can compare both to learn the difference.
Now, let’s learn what shall be the ideal resolution of 3D rendering.
Resolution of 3D Rendering
Render resolution defines the pixel count, which represents the quality of the rendered image.Below we have presented different circumstances so that you can choose the right rendering resolution depending on your purpose.
-
Render Resolution for 3D Printing
 3D Printing
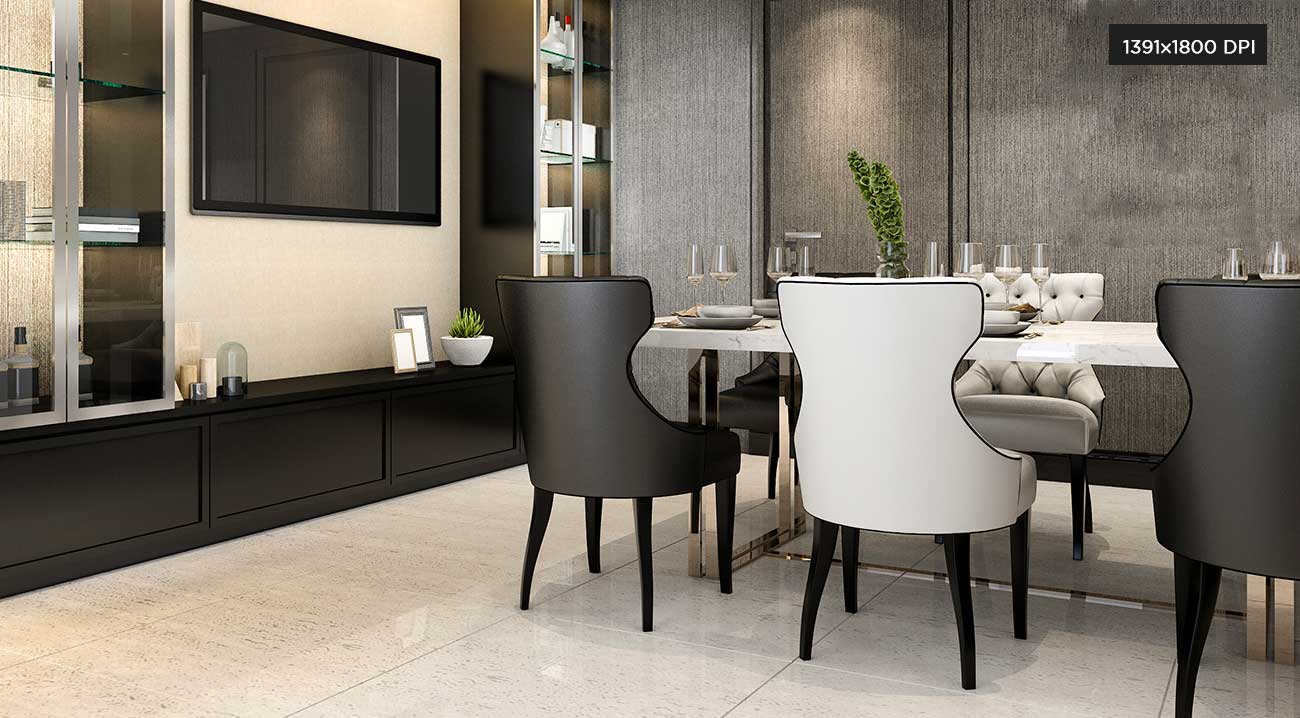
For 3D printing, it is recommended to use a high-quality rendering resolution. The standard 3D printing resolution for renderings is 300PPI. However, according to the physical size of the image, the ideal 3D printer resolution may differ as follows.
PHYSICAL IMAGE SIZE (INCHES) IMAGE SIZE @ 300 PPI 4" x 6" 1391×1800 5" x 7" 1500×1941 8" x 10" 2400×3106 8.5" x 11" 2550×3300 11" x 14.235" 3300×4271 18.544" x 24" 5563×7200 -
Render Resolution for Web
 For Web
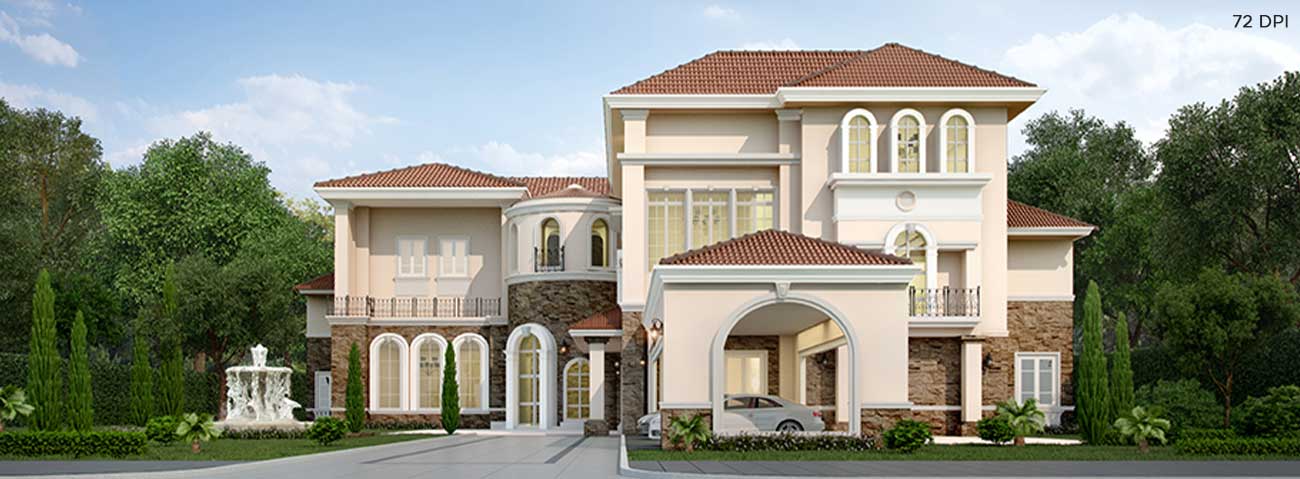
Generally, 3D renderings are viewed online via computer or phone screens. That’s why while preparing the renders for your website, you must ensure that you aren’t overdoing the quality. This will help you to minimize the load time of your website.
With minimum load time, you can provide an optimized experience to the visitors of your site. You may also compress the images in the needed size to make them worthwhile in terms of optimization. The standard rendering resolution for web purposes is 72PPI.
Render Resolution for Billboard
 For Billboard
In large-scale printing, people often feel the need to use extremely high-resolution renders. However, doing the same is impractical. If you create absurdly large-sized renderings, you will surely face problems with your system memory, file size, rendering tool etc.
So, the best thing you can do is work with high PPI and then scale the rendering down after post-production. It doesn’t make sense to produce a high-resolution rendering that matches its physical size. Even if you think to use it for billboards, no one closely views a billboard anyways. Therefore, high-resolution isn’t necessary if the printed image will be seen from a distance.
Besides, the DPI you use will vary depending on how the viewer should be. If the intended viewer is farther, you need to lower the DPI. Here’s the ideal DPI for different cases.
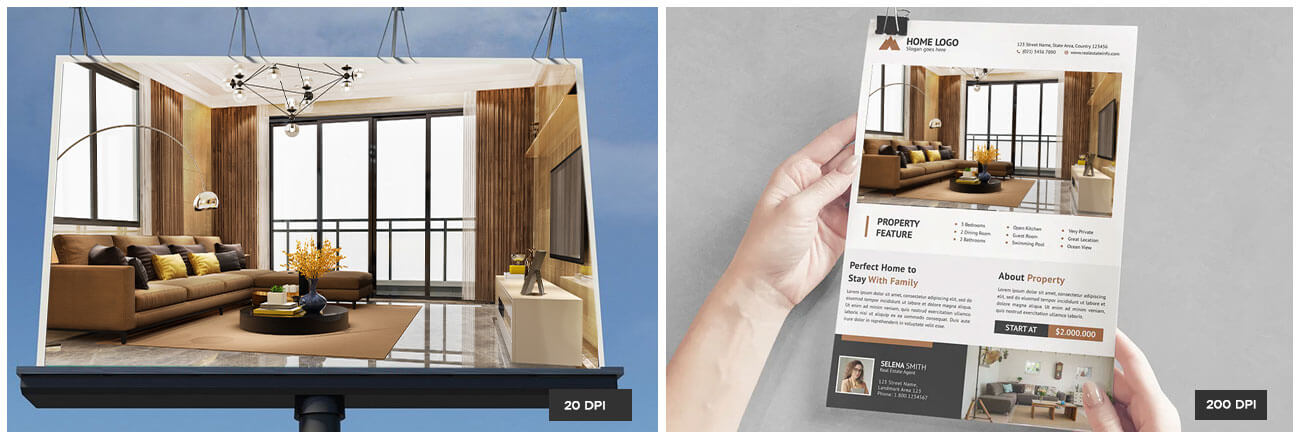
- Case 1: If the images will be held in hand (For example, fliers, brochures, etc.), the ideal DPI could be 200+
- Case 2: If the printed images are to be viewed from a moderate distance, let’s say 2m (For example, posters), the ideal DPI could be around 100.
- Case 3: If the images are to be viewed from a relatively far distance, maybe around 10m (For example, billboards), the ideal DPI could be around 20.
Render Resolution for Texturing 3D Objects
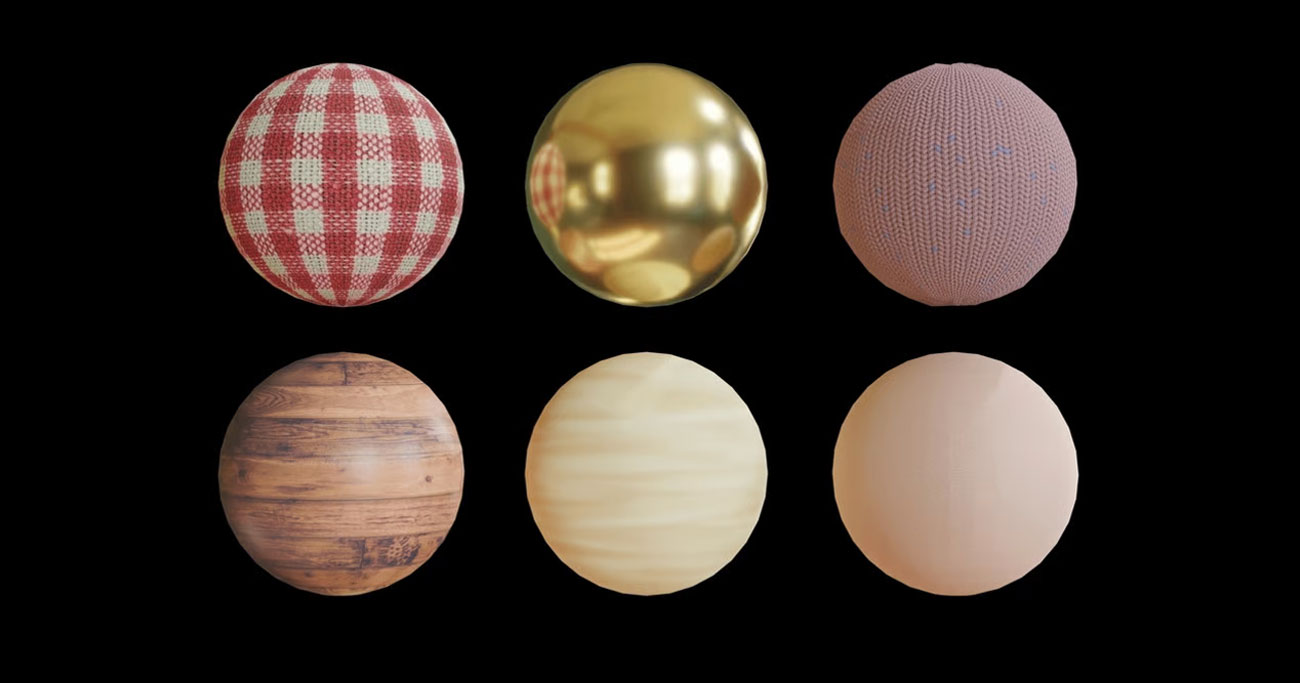 For Texturing
While texturing a 3D object, you need to consider what the final image resolution will be when the object is placed in front of the camera. For instance, let’s say the 3D image resolution is 1028x1028 pixels. Now, the texture of the 3D object covers 100% of the screen. In that case, you need to use a texture size of at least 1028x1028.
Here’s an easy way to estimate the right texture size you need based on the above.
Texture size = Final image resolution x Screen % or Estimated proximity to camera
Also, you need to remember that texture occupies 3D space. That’s why you must include the closest texture element to the camera while considering the resolution of the texture. It will ensure that the quality of the texture doesn’t drop. Now, let’s move to animation and what its ideal resolution should be.
Related Article : How to Create 3D Textures Using Simple Tips
Resolution in Animation
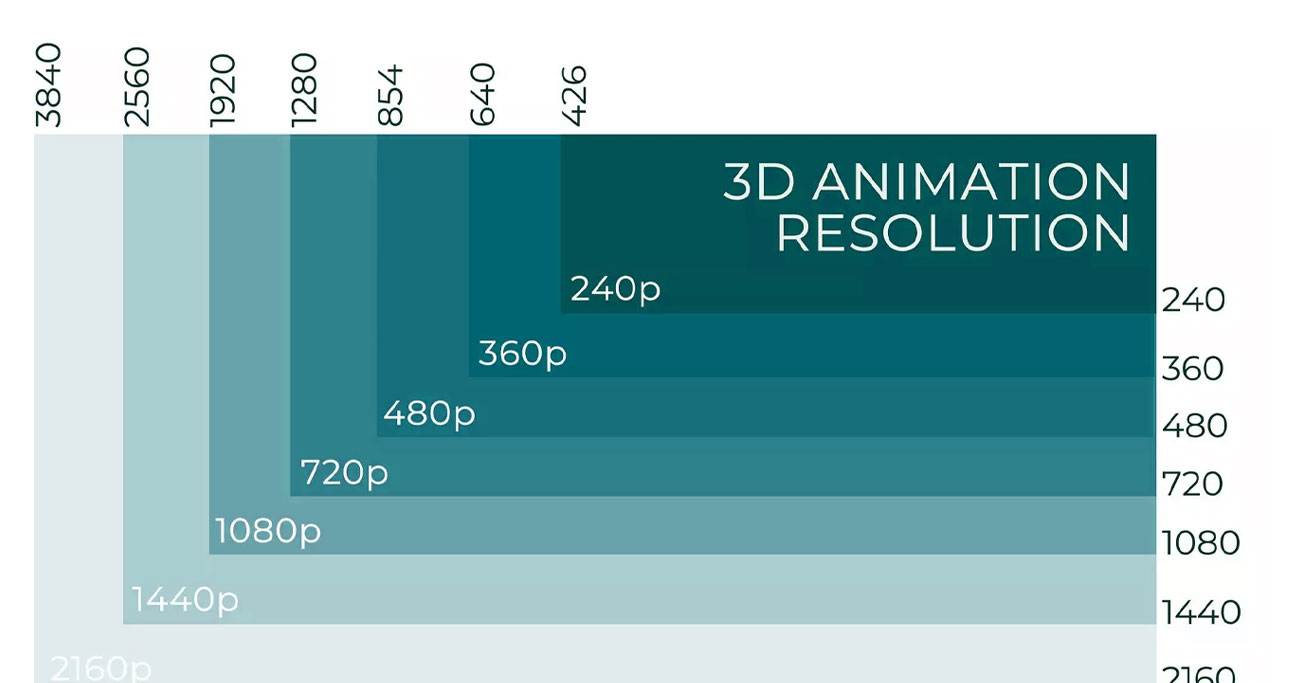 For Animation
Just like rendering resolution, the resolution for animation also depends on the medium of display. For example, if you are going to project your animation on a theater screen, then you need to use a higher resolution.
4K a high quality resolution and is great for both small and large screens. But, only for a closer viewing distance, which should be within 10 feet. 8K resolution is becoming popular too but is still not supported by many mediums.
Now that you know the ideal resolution of 3D rendering and animation, you may be thinking about the timing. Does it even play a role in affecting the time to render or it doesn’t? Well, let’s move on to the next section to find the answer.
Can Resolution impact your Time of Rendering & Animation?
Yes, resolution can impact the time of rendering and animation. If the resolution of your image doubles, then the surface area will be increased multifold. This will further lead to increasing the rendering and animation time as well as the file sizes.
As compared to 3D rendering, this relationship is more relevant to animation videos. So, an increase in the resolution of animation will take more time to render since each image will take more time to process.
That’s why it is important to choose a particular resolution before you start the project. It will ensure that neither of the parties can take advantage of one another.If you need any professional 3D rendering solutions assistance reachout to us and our talented team will help you with your project.
Contact Us