Common 3D Design Errors to Avoid as a Designer
The 3D design process is long, tedious, and involves many different teams. Therefore, it can be challenging to completely avoid mistakes and get everything right, especially if it’s your very first project. Since we have been in this space for a long time, we’ve made a simple list of all the common 3D design errors and how to avoid them for the best renders.

14 Most common mistakes made by 3D design artists and how to avoid them
-
Overcomplicating the models’ geometry
Overcomplication of geometry happens when you add unnecessary intricacies to an already detailed 3D model. Such unnecessary additions neither improve the visual quality nor functionality. They only increase the complexity, resulting in longer rendering times, editing difficulties, performance issues, and other issues during animation or real-time application.
How to avoid it?
Ensure that the 3D object’s geometry effectively serves the purpose they are made for. Try to strike a balance between detail and efficiency so there are no issues during rendering and application.
-
Duplicate vertices/edges
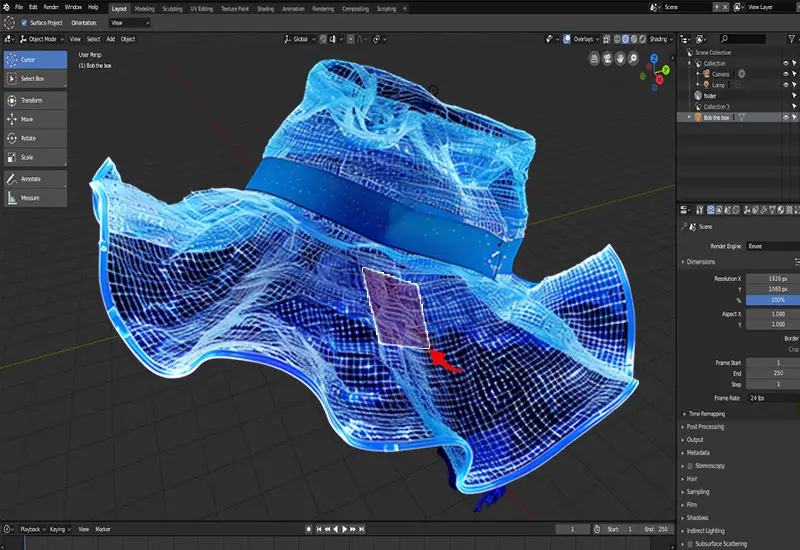
When you move or rotate a 3D model as you work on it, you can unknowingly duplicate vertices or edges. Duplicates create n-gons a polygon made up of five or more sides or edges). n-gons are a problem because they cause numerous issues during UV mapping, rigging, animating, or rendering.
How to avoid it?
To avoid making duplicates, use care and attention to detail when building the model. Keep in mind that there is always a chance for the duplication of vertices or edges, and be vigilant.
-
Overusing n-gons
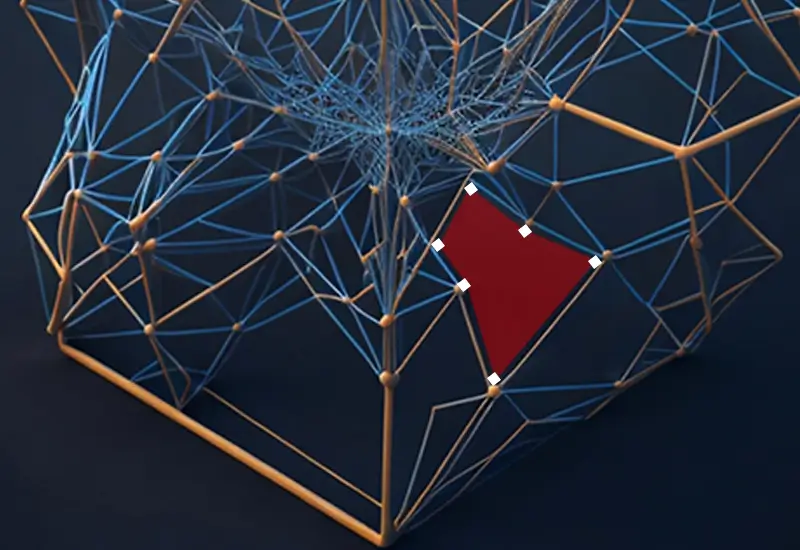
Because n-gons have multiple edges, it can be tempting to use them to build your 3D models. It is much quicker to make models with N-gons. However, their multiple sides cause difficulties when passed on for later processes (like animation). N-gons disrupt the edge flow of a model, making it more difficult to select edge loops.
How to avoid it?
Actually, in most cases, you shouldn’t be making models with n-gons. However, you can use n-gons to save your polycount when modeling hidden areas, the cap of a cylinder, or hard surfaces.
Ask any 3D modeling expert, and they will suggest using quads (polygons with four sides) instead of n-gons, or even tris (triangles). Because quads have four sides, they align easily with planar structures (where all vertices are on the same plane). Hence, they’re perfect for models with flat surfaces, like floors, walls, etc.
If you’re working on an animation project, it’s best to use quads for clean, non-deformed, and smooth results. Also, we would advise all modelers to keep the quads as square as possible and regularly check what you are making for any mistakes (like duplicate edges) to avoid having to redo or restart the model from scratch.
-
Rough surfaces/topology
Another aspect many modelers ignore or forget to do is check if the model has a bumpy surface. It is vital for 3D models to have a clean topology or smooth surface. In the animation of characters, edge flow (making the edges follow the model’s features or curves in a natural way) is also an important factor.
How to avoid it?
When building a model, you have to pay attention to both the aesthetics and functionality, and for this, a clean geometry is a must. To eliminate uneven topology and surfaces, make sure there aren’t any stray vertices interrupting the edge flow or edge loop (a series of connected edges running completely around an object). Keep the quads as square as possible and evenly space the edge loops.
Check the model for any bumps or uneven surfaces and smooth out any imperfections to get the perfect model.
-
Ignoring real-world scales/using the wrong scale
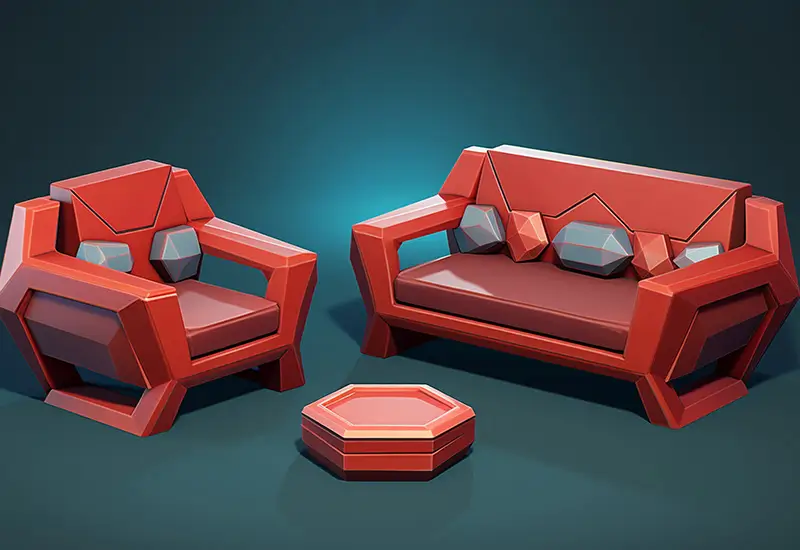
Ignoring real-world scale when building a 3D model is possibly one of the biggest mistakes a 3D modeler can make. Digital models that aren’t made according to scale turn out looking unnatural or distorted. They can be out of proportion, causing a lot of visual discrepancies, particularly when they are supposed to fit into a larger 3D scene/project or in detailed parts, like faces.
Stick to real-world scales to maintain consistency, realism, and compatibility among 3D models and scenes.
However, if you use the wrong scale, the results can be even more disastrous. Models made with the wrong scale may look accurate on the computer, but there will be terrible inaccuracies during 3D printing or building construction.
How to avoid it?
Use real-world scales and measurements, quads (polygons with four sides), and fewer subdivisions when building your digital object. Another helpful tip is to keep an image of the object you are making as a reference. Keep the concept image open on your computer or have a sketch in your notepad nearby for easy access. You can compare your project and the reference image to make sure that the object will be accurate.
To avoid using incorrect proportions, keep comparing the model’s dimensions with the real-world object it is supposed to represent. If the object doesn’t exist in real-life, refer to the measurements given to you.
-
Creating too many subdivisions too early in the 3D modeling process
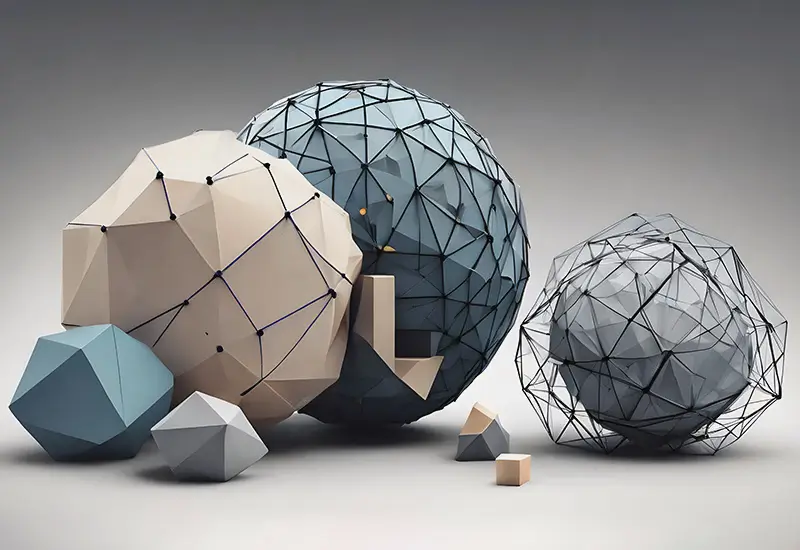
Another mistake modelers make, especially beginners, is subdividing the mesh too early in the modeling process. Subdivision is the process of dividing/cutting a polygon into more polygons without changing the shape of the model. Modelers use subdivision to turn simple mesh models into detailed, scalable models.
The risk of subdivision is that you tend to go overboard and try to make a complex model. Regrettably, too much subdivision makes the model lose its visual quality, making it look lumpy and distorted. And then, it’ll be too difficult to fix the model.
How to avoid it?
The general rule while building a model is to use basic quads and not subdivide them unless you absolutely must. When overused, subdivision makes digital objects look irregular with rough surfaces. Make your basic model, go over your work, and then add any subdivisions if you feel like they are required.
Luckily, you can use 3D modeling software to smooth out some of the bumps. If you have already used subdivision to the point where you can no longer make any more changes to the object, use the lattice tool in Autodesk Maya. But it is better to avoid subdivision entirely rather than use it and fix the issues it causes.
-
Improper texture mapping
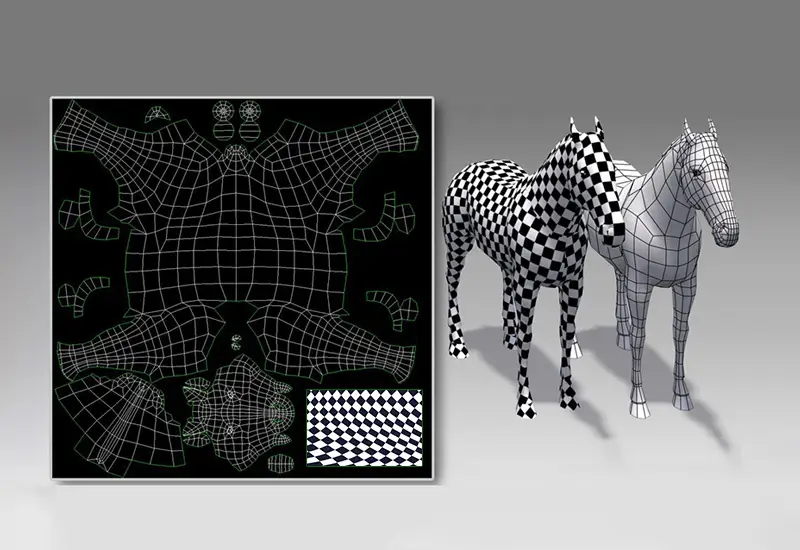
When texturing a 3D model, modelers can sometimes ignore the importance of applying textures properly. Texture mapping – the process of applying textures to a 3D object – is vital to the 3D design process as it adds visual detail to the model. Textures give models surface characteristics, like color, patterns, depth, creases, bumps, shine, etc.
If the texture is not applied properly, you get problems like stretching, distortions, loss of realism, inconsistencies in aesthetics, and performance issues.
How to avoid it?
There are different ways to texture a model, the most common of which is UV mapping. In UV mapping, a 3D model is unwrapped and turned into a flat 2D object, after which the texture is applied onto the model’s surface. To do this process correctly, you must first understand the basics and how UV coordinates work. Avoid overlapping UVs, as the textures will appear incorrectly.
Check the texture’s resolution, as low-resolution images appear blurry and high-resolution ones cause performance issues. Pick the resolution according to the project requirements and try to strike a balance between quality and efficiency. Also, optimize your texture files so that they don’t disrupt the rendering process or animation.
After mapping the textures, check the model for any stretching or pinching on the surface and adjust the textures accordingly.
-
Overusing modifiers
With an increase in demand for realistic 3D design, 3D artists are expected to make their models look as real as possible. It is for this purpose that modelers use different texturing, coloring, and lighting methods. However, when overdone, the resulting renders and scenes can come off looking overproduced and fake. It’s a problem referred to as “overuse of modifiers.".
How to avoid it?
The fewer modifiers you use, the better. Try to get the desired effect by using as few modifiers as possible. It may sound like too simple a principle, but it goes a long way when generating natural-looking 3D designs.
-
Not testing your 3D models before putting them in use
You can’t say you have completed your 3D design project without testing the model. You can’t just export the model and cross your fingers, hoping for it to work properly. Industries like gaming, animation, virtual reality, augmented reality, and 3D printing need models that are highly accurate in proportion and scale, have good visual quality, and are efficient in resource use. Inaccuracies, deformations, and performance often result in wastage and huge losses.
How to avoid it?
Below is a brief list of the different tests modelers perform on their models:
Visual inspection to check for errors in the geometry, texture, and anatomy and proportions.
- Mesh analysis to make sure that all normals point in the right direction and to look for non-manifold geometry (edges shared by two or more faces).
- Performance testing to balance detail with performance by checking the polygon count and level of detail (LOD) testing.
- Animation testing (if applicable) to check for distortions in animation and deformations in pose testing.
- Collision and physics testing to check for proper responses to collisions and interactions with various physics simulations.
- Rendering tests to check for issues in visual quality, lighting, and shadows, and to ensure the rendering times are within a reasonable range.
- Compatibility testing to check if the model is compatible with different software and engines and retains its quality in all file formats (like OBJ, STL, etc.).
- 3D printing testing (if applicable) to check if the model is printable and if it’s appropriately scaled.
- User testing (if applicable) for gathering feedback from clients/end-users to catch potential issues and check for interactivity in VR/AR environments.
After running the tests, fix any bugs you have identified, and your model will be ready for the next phase (if any).
-
Not optimizing your 3D models
Did you know that your 3D models also have to be optimized? 3D model optimization is a necessary process so that the digital assets don’t cause the software, application, or device to lag or crash. Many beginners make the mistake of failing to optimize digital assets.
If you are working with high-poly models, optimization is very important, as it can cause applications to lag or even crash due to strain on the computer resources.
How to avoid it?
You can optimize digital assets using the following methods:
- Reducing the polycount
- Optimizing texture images
- Creating multiple versions of the model with varying levels of detail
- Cleaning up meshes
- Using normal maps instead of altering the geometry
- Efficiently performing UV unwrapping
- Streamlining the rigs and keyframes
-
Bad camera angles and perspective
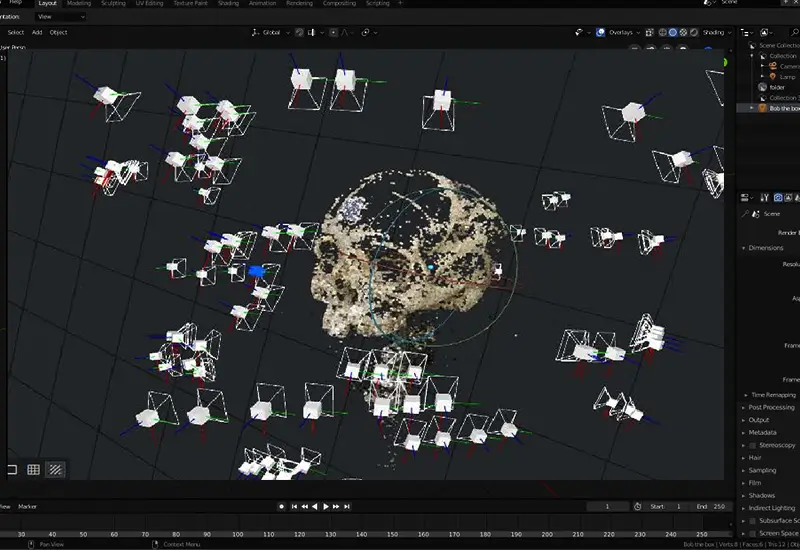
When rendering a computer-generated scene, you have to place the cameras (in the software) at appropriate angles. It is very similar to how you’d place your camera in a photo or video shoot. If you don’t have enough experience with rendering a scene, you may not know which angle is appropriate. If you use the wrong angle, the object will look distorted, causing misconceptions about the real object. For example, a render from a below-the-eye angle will make the object appear larger or taller than it actually is.
How to avoid it?
Select the camera angle based on the object, scene, objective, and project requirements. The standard is to have the camera at eye level or slightly below. Usually, the camera angle is decided in the planning stage, so follow the instructions. Sometimes, you can tell what camera angle to use if you are experienced enough.
-
Incorrect use of objects
When setting up a CG scene for rendering, the digital object has to match with the rest of the environment according to the context. As a 3D artist, it is your job to make the scene and object go well together. Unfortunately, if you don’t have the required experience and knowledge, you end up putting the objects in the wrong place.
How to avoid it?
We find that it is better to pick a 3D scene that matches with your object, rather than finding an object that matches the scene. Of course, you need the knowledge and experience to pull off a beautifully set digital scene. You can get the required knowledge through different courses or by working under a mentor.
-
Unrealistic/improper lighting
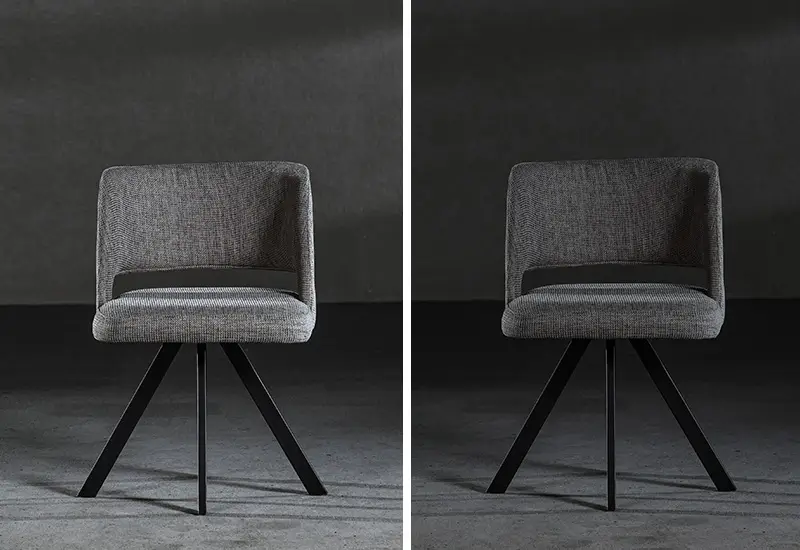
Another mistake CG artists make while rendering is with regard to lighting a digital scene. Some CG beginners add the wrong number of light sources or make mistakes when setting the brightness. These mess-ups result in renders that are either too dark (underexposed) or too bright (overexposed).
How to avoid it?
3D lighting is supposed to mimic lighting situations in the real world. It helps us control the mood in a CG scene, amount of light, shadows, etc. The lighting is always based on what you are trying to express through the scene, much like with photography and filmmaking.
Follow these tips to get the perfect lighting in your renders:
- Work on the lights one at a time so you know how each light’s effect changes when you alter its settings.
- Try to convey your message through scene composition and emotion.
- Light source placement affects scene atmosphere, so choose wisely.
- Highlight the important areas or manipulate the lighting to bring certain areas of your scene into focus (if needed).
- Don’t go overboard and oversaturate your scene.
- Look at reference images to learn how different light sources work and behave.
-
Overediting in post-production
Sometimes, inexperienced CG artists try to cover up their mistakes and low-quality 3D models by overediting the renders in post-production. For example, adding unnatural-looking shadows or flashy glares in Photoshop.
How to avoid it?
Pretend that Photoshop doesn’t even exist and put all your best effort into the 3D modeling, texturing, lighting, and rendering processes. If you get everything right in the entire 3D design process, you won’t have to do much work in post-production. Instead, use Photoshop to refine and add finishing touches to your renders to get photorealistic results.
Build your own library of ready-to-use digital scenes to render any number of times.
A final note
To become skilled at any creative task, you need knowledge and experience, the same goes for 3D design artists. Most common mistakes can be avoided by going over your work again to visually check for errors, use the right measurements and proportions, test the models, and optimize them for smooth performances and efficiency. After reading this list, you should know how to avoid common 3D design mistakes.
Contact Us
