Tips to Design 3D Print Miniatures and Figurines
Details are the most important things to consider if you want to make your 3D miniature modeling a success. Since figurines are difficult to replicate on a 3D printer, try to pay attention to the various parts of the model that requires detailing.
To design the miniatures, focus on minute details and proportional accuracy and use a combination of sculpting and painting techniques to bring the small-scale models to life. It may include facial features, adornments, clothing, or weaponry. However, also remember that you do not have to replicate every detail. It is best to left out some details and add them later while painting. Here are a few more tips on how to design and print 3D miniatures.
How to Design and Print 3D Miniatures
Designing the 3D Model Parts
 3D model parts design
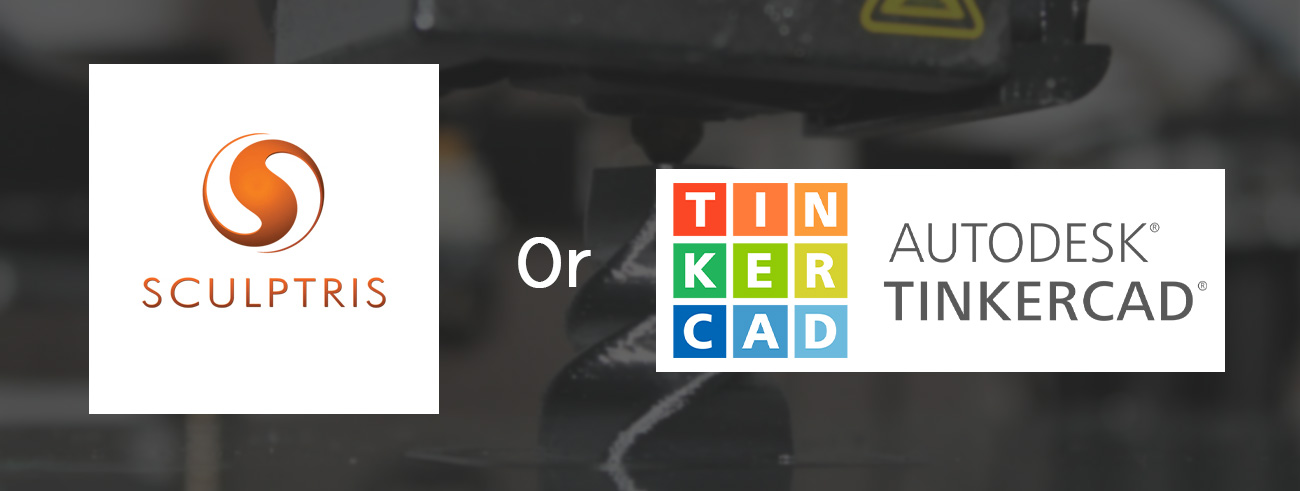
We would like to suggest the two best 3D miniature design software for designing your 3D models, i.e., TinkerCAD and Sculptris. If you are planning to create inorganic models like spaceships or robots, then go for TinkerCAD. However, if you want to design parts that look more organic, then use Sculptris.
Useful Article : 10 Best 3D Printing Software That You Must Try
Start with a sphere and try to use it as a clay ball for 3D sculpting the desired models. A variety of tools will be available in each program to help you create the 3D sculptures. TinkerCAD can easily function in the browser. However, Sculptris needs to be downloaded. No matter what program you choose, work on it. Gradually, you will get comfortable with the interface, and creating complex parts will be easier within the program.
Bonus Read: How to Prepare Your Model for Flawless 3D Printing?
-
Setting the Scale
 Setting the Scale
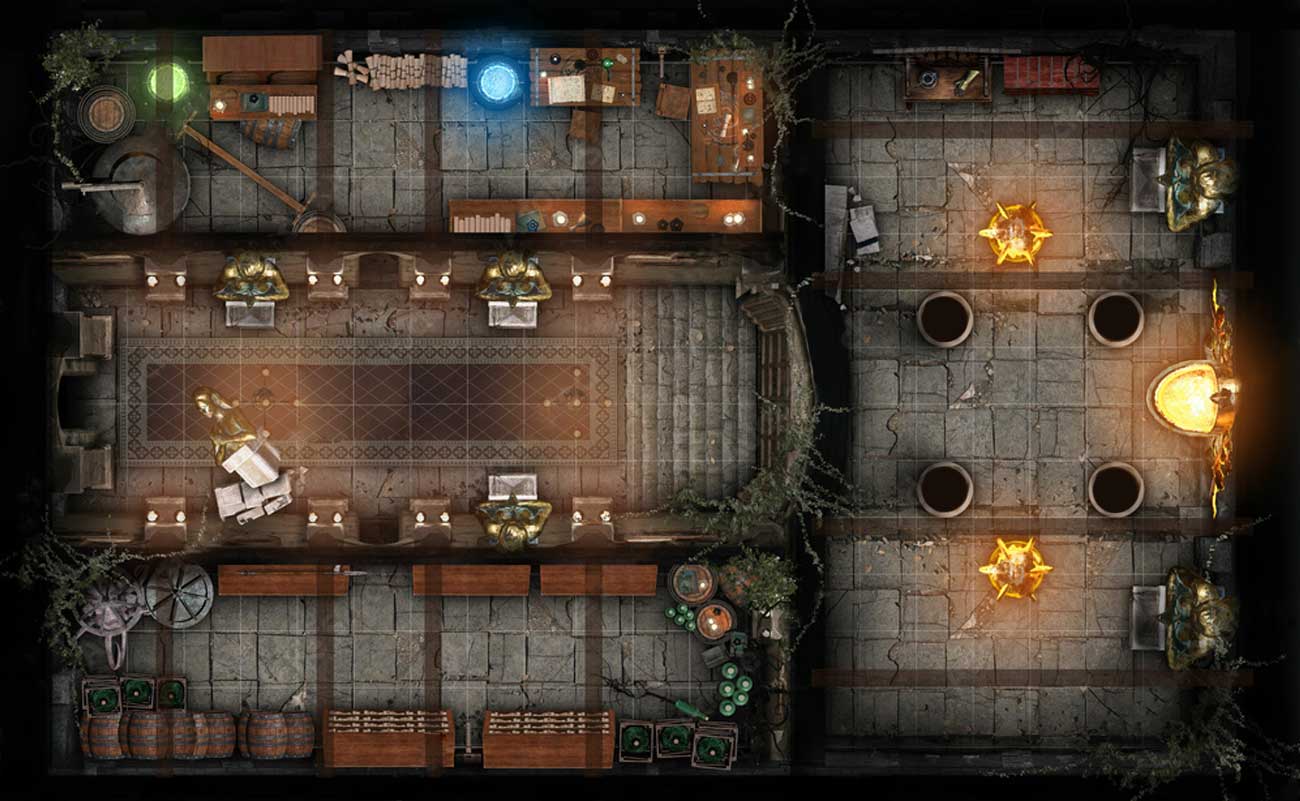
Most of the gaming models are modeled in 18mm scale. Besides, this scale is ideal for the speed of printing or detail level. The 18mm of the scale usually refers to the distance between the sole of the feet to the eye level of a person. As compared to the 15mm models, this scale provides more detailing even for huge battlefields, dioramas, or dungeons in the tabletop games. On the other hand, 28mm designs may work for less organic or larger models.
Staging the Models
 Model staging
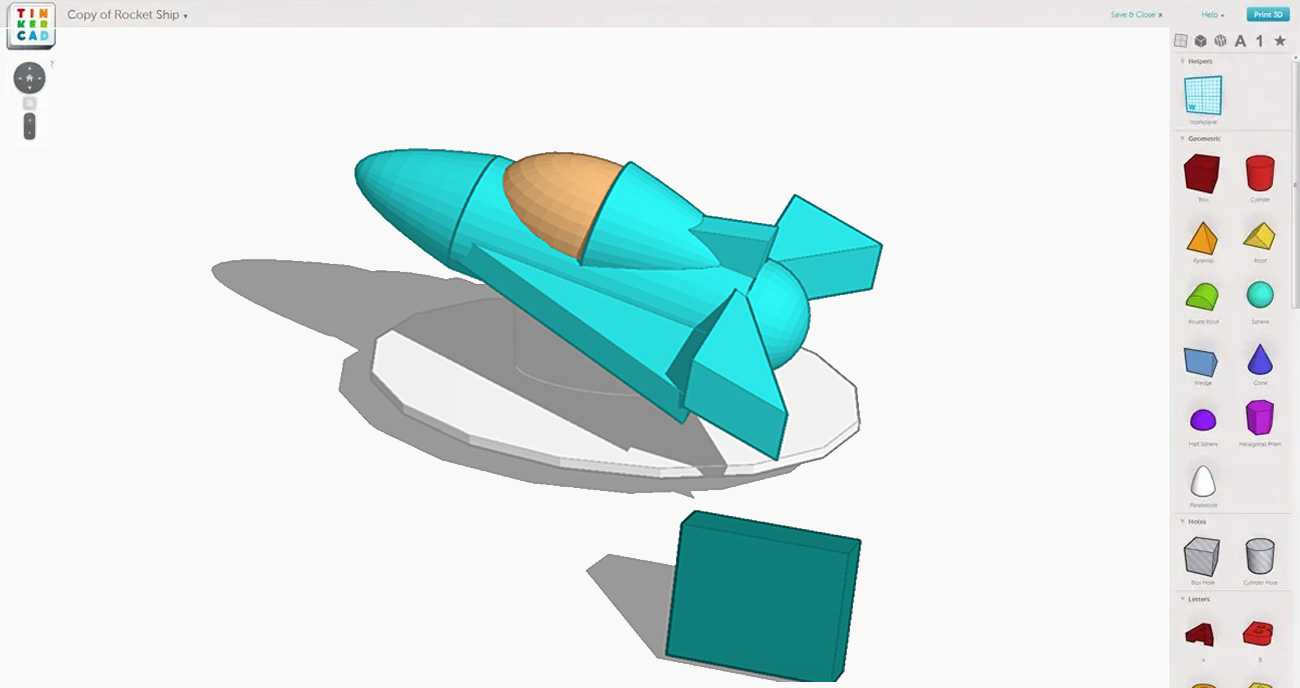
One of the best 3D miniature design tips is to use TinkerCAD as a staging area. It means you can try creating organic parts of a model by using Sculptris, and when it is done, you can import them to TinkerCAD. Once it is done, you can arrange them just like the way you would in any other in-program primitives. However, another important thing to keep in mind is to enlarge the model parts by 500% while importing. It will ensure that there is no decimation after the parts are imported.
There are a few other programs that can be also employed as a staging area for combining parts. They are MakerBot Desktop, Blender, MeshMixer, etc. TinkerCAD exports the models in STL format while Sculptris exports in OBJ. While combining the parts into a single model, you will notice that the components will be overlapped.
However, make the best use of programs for exporting the model successfully. Once done, a good rule of thumb is to run it through cloud.netfabb. This browser-based program is free to use and will take only a few minutes to export even the complicated model parts.
Get the CAD Models Ready for Printing
 CAD models ready for printing
3D printing usually has some limitations which can act as a barrier while printing your 3D miniature models. To ensure that the parts remain in place, you can support it by using extra material as staffolding. Also, ensure that the printer calibrations are stop-on. If you wish to see through the model during the print process, choose “splitting”.
You can also cut your models into half by using MeshMixer or TinkerCAD and then, carry out the 3D printing process. Later, when it is printed, you can combine the halves by dabbing it with the model glue. It might leave a visible seam behind. However, you can make it vanish with the help of conventional 3D modeling techniques.
You might not have to worry about disappearing the seam if it is an 18mm scale model, but if it is a 28mm one, it will require you to clean it up and paint it. While printing split models, also make sure that you do not print them with a raft. Since you are going to glue the surfaces later, rafts can be pretty difficult to remove.
-
Techniques for Adding Model Finishing
 Model finishing
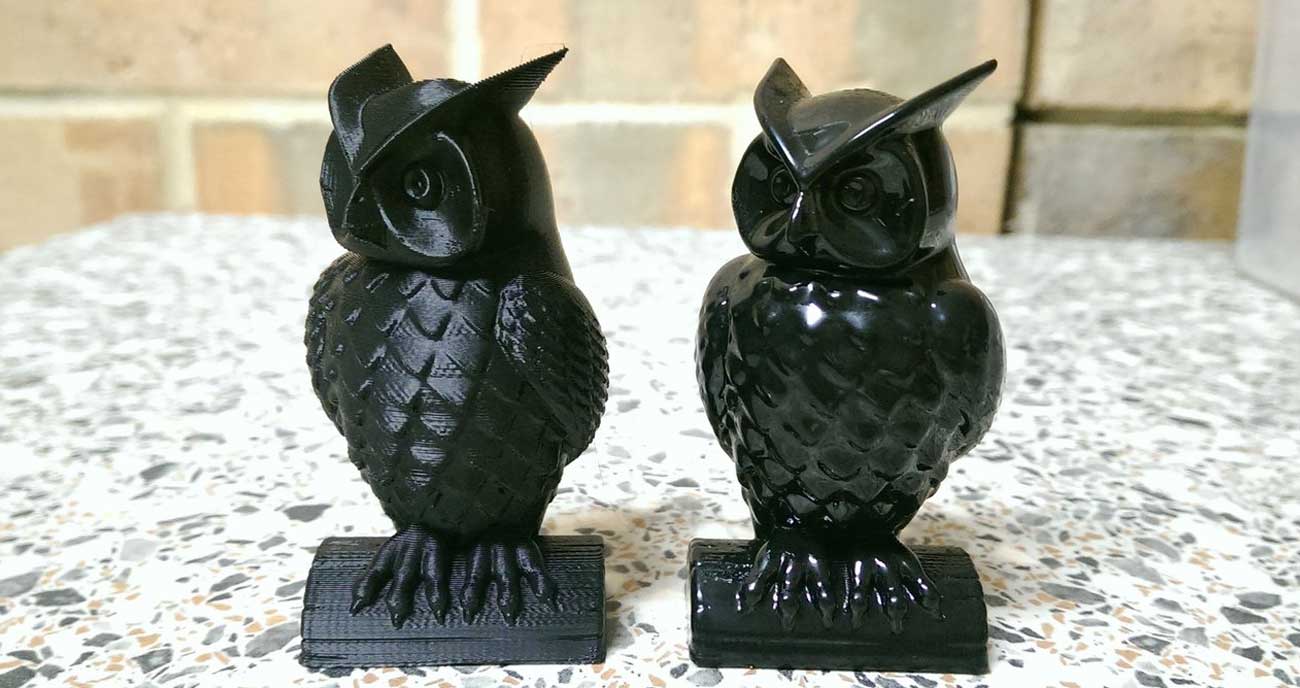
If the models you have printed is that of a toy or prototype of a board game, you do not have to worry about improving its attractiveness. However, if you have created something where the appeal is important, then you can try out a few things. To smoothen the surface of the miniature models, try using vapor polishing or brief exposure.
However, only use these techniques if you have done it before. You will find many tutorials online for this but we advise you to seek help from companies specializing in 3D printing design services. The reason why it is important to use professional help is that the process might remove a few details from the models.
If you want to paint the models, you can choose model paints. These are usually available in the game or hobby stores. First, you need to start by printing the model with a black filament. Since the acrylic paints have a high pigment count, it is okay to directly paint the model surface black.
Some might also use a black primer before painting so that it does not show any creases or missed out bits in the metal. However, if you are already printing the model in black, you can skip the highly toxic and expensive step of priming the models. The rest is similar to that of painting a regular model.
3D Printer Settings to Obtain the Perfect 3D Prints
Before we discuss the printer settings, let us talk about the two types of 3D printers that you will most likely come across. They are Resin or Stereolithography (SLA) and Fused deposition modeling (FDM). The two popular resin or SLA printers in the market are Formlabs Form 2 and XYZPrinting Nobel 1.0A. With resin printers, it is possible to print even the most intricate details in the 3D miniatures or figurines. However, with FDM printers, achieving the same precision as that of SLAs can be difficult.
So, if you also have an FDM printer, here are some tips you can use to achieve the perfect prints for your miniatures.
-
Print slowly
Avoid printing fast if you want to obtain high-quality prints. This step is especially true for printing small figurines or miniatures. If you usually 3D print at 30mm/sec, then drop it to 20mm/sec for printing miniatures.
-
Set the layer height to a smaller value
Set the layer of models at a smaller height. However, before doing it, check the layer height your printer can achieve. It is mainly because most budget 3D printers do not achieve the height mentioned on the spec sheet. Another thing you need to find out is the Magic layer height of your printer.
Increase the initial layers
Initial or bottom layers are the first layers that the 3D printer lays down. These possess 100% infill and can support bed adhesion. So, if you are using thin layer heights for printing your 3D miniatures, then you need to increase the thickness of your initial layers. Try to achieve a total thickness of 0.5mm before the infill reduces. For instance, a layer height of 0.04mm should have no less than 12 initial layers.
-
Offer adequate cooling time
When you are printing high-detailed miniatures, it is necessary to provide adequate cooling time for the filament. For the best results, go for 360° nozzle cooling for your printers.
Don’t increase the minimal layer time
It might be tempting to increase the minimal layer time. However, you shouldn’t do it since it will result in excess nozzle dripping of the filament and create a mess. The only way to overcome this issue is by printing more objects at a time.
In this way, the nozzle will be busy printing the same layer on the second model when the last layer of the first model is cooled down. It will ensure that the printer receives sufficient time to cool without forcing the hot nozzle to drip off excess materials and ruin the designs.
-
Do not use support structure
The default support structure will work perfectly for most of the 3D printed objects. However, when it comes to complicated miniature structures, it might not work perfectly. In that case, you can download a free copy of the support structure from Autodesk’s MeshMixer.
Pay attention to refraction settings
Retraction settings should be given special attention. You can start by experimenting with test pieces until they are right. Retraction helps in controlling the oozing of filament after it is done extruding. It works by preventing more filaments from extruding before it starts printing the next layer. So, the only thing you need to take care of is to stop the filament from oozing.
That’s all you need to know when it comes to learning the tips to design and 3D print miniatures. As you can see, the tips and tricks mentioned here were quite easy. However, we do advise to use professional 3D modeling services in case you need assistance.
With practice, we are sure that you would be able to design and print outstanding 3D miniatures yourself. Besides, the 3D printer settings we have mentioned here will also help you to optimize your printer and produce high-quality 3D printed miniatures. So, make the most of these tips to ensure success for your miniature printing journey.
And if you need any help or guidance to create 3D miniature print models for your business or brand, we are just an email away!
Contact Us