How to Prepare Your Model for Flawless 3D Printing?
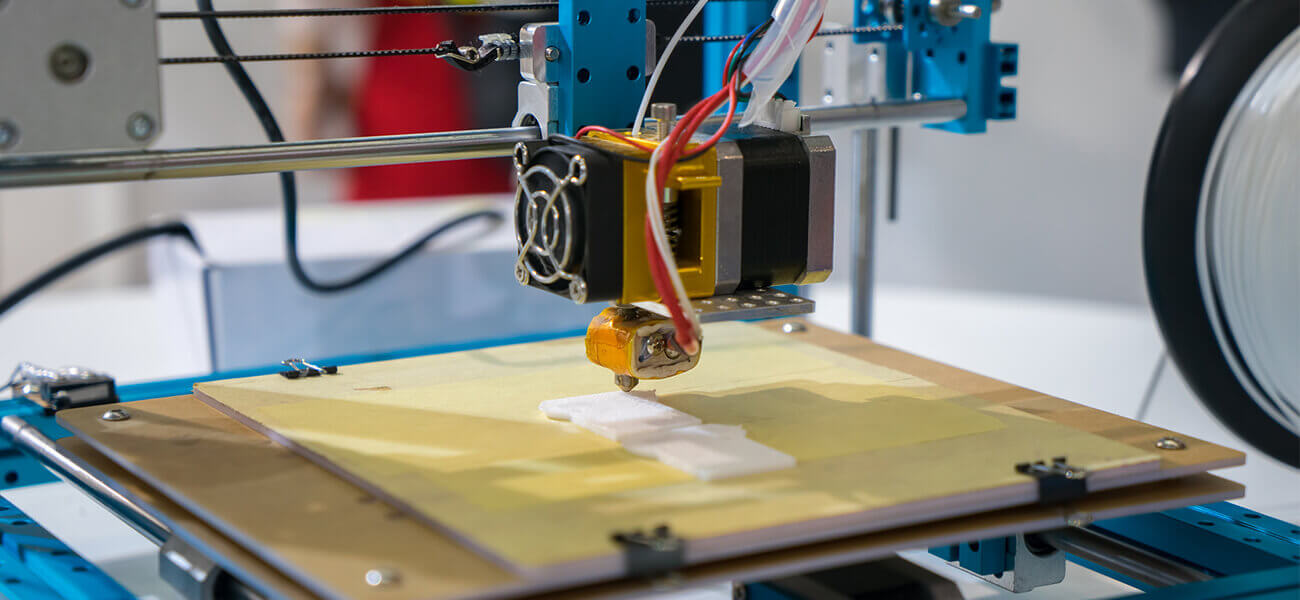
3D printing has opened the doors to an exciting world of possibilities. To prepare a 3D model for printing, you need to follow the preliminary steps that will help you save time, effort, and money.
Thus, in this article, we’ll discuss the various steps involved in the process that can help with each step of your workflow. So, let’s get started.
How to Prepare a Model for 3D Printing
The important milestones in the process of preparing the model for 3D printing are discussed below:
Step 1: Seamless Model
If you are engaging in traditional 3D modeling, your design would consist of numerous discrete and complex elements. For example, in Autodesk 3DS Max or Maya, you create the hair of character as a discrete geometrical unit. Such geometrical shapes are then collated in complex formation for the final outcome.
When preparing model for 3D printing, you need to deviate from this strategy. Your model cannot consist of such discrete elements in huge quantity. The model has to be a consolidated seamless mesh. Discrete elements can be printed separately and then pasted on the base model.
If you are designing a simple 3D printing character model, the process is enjoyable. But, if you had developed a model that was not initially meant for 3D printing or is a complex 3D model, then you need to carefully tweak the mesh. The topology of the model intended to be printed needs to be done with the utmost precision.
Step 2: Hollowed Model
3D printing material is expensive. To keep costs low, you must ensure that the model is not solid. Else, the quantum of print material used would be more. 3D print vendors often charge for printing in terms of volume. So, if the model is hollow from inside, you would have to pay less.
The 3D printer is not set to print hollow designs by default. So, despite your model being a hollow mesh in 3D software, it needs to be prepared for printing as hollow. This is because during conversion of model for printing, it is assumed to be solid.
To learn how to model hollow for 3D printing, follow the steps mentioned below:
- Start with the 3D print preparation of your models by selecting the entire array of faces on the model’s surface
- Carry out negative or positive extrusion of faces along the surface normal. You can go for negative extrusion as the exterior surface’s appearance remains unaltered. In Maya, you need to check the ‘Keep faces together’ option.
- After extrusion, ensure that the geometry has not overlapped anywhere during the process. Examine critically and resolve any issues apparent to the eyes.
- After extrusion, the model would have inner and outer shells. The distance within the shells would represent thickness of wall during printing of model. If you go for thicker walls, the model would last longer but you have to expend more. Decide the space between shells judiciously based on model’s purpose. Too less space is also not desirable. You have to adhere to the minimum thickness specification of the print vendor.
- You must have a slit at the model’s bottom through which excessive print material can get out. The slit must be made without compromising the mesh’s original topology. During slit formation, ensure to bridge the rift between outer and inner shells
Step 3: Non-Manifold Geometry Elimination
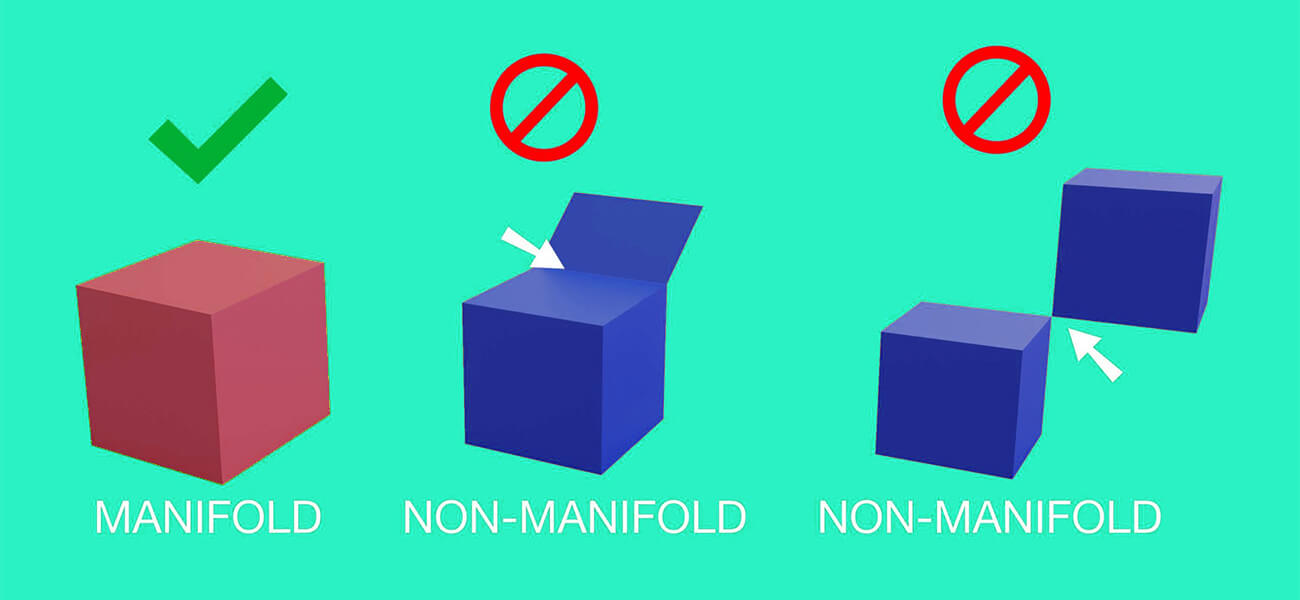
During 3D modeling, you need to be careful with avoiding the non-manifold geometry. Non-manifold is representative of the edges shared among more than 2 faces. Such type of geometric 3D models shows up if the extruded edge or face is not subjected to proper repositioning.
The outcome is 2 identical geometrical elements sitting atop each other. The 3D printer gets confused with such geometry which results in distortion of shapes and incorrect printing.
Often, the non-manifold geometry surfaces when 3D modelers extrude faces, reposition them, then choose not to extrude, and then try to undo the extrusion action. 3D software recognizes extrusion as 2 different commands. One pertains to extrusion process and the other related to the face or edge repositioning.
Hence, for reversing the extrusion step, the undo command has to be issued twice. If you forget to do so, the model would fall prey to non-manifold geometry. Such mistakes are common with beginners.
However, the problem can be easily avoided. Since, the geometry is not apparent to eyes, it can be easily overlooked. You need to set it right once you take note of the problem. If you choose to fix the non-manifold geometry later on, it would become difficult to handle.
The process of identifying non-manifold faces is a tricky one. While working in Maya, you need to ensure that display settings opted by you allows the selection handle to appear at each polygon’s center in face selection mode. The handle is in the form of a circle or small square.
If the selection handle is visible directly at the edge’s top, it is indicative of the presence of non-manifold geometry while designing the 3D models. In that case, you can select the affected faces and then click Delete. If this process fails to yield the desired result, you can navigate to the Mesh menu and issue the Cleanup command. In the options box, select non-manifold. Non-manifold geometry may result from other factors apart from extrusion.
Step 4: Surface Normal-Checking
The surface normal or face normal symbolizes the directional vector sitting in perpendicular fashion to the 3D model’s surface. The surface normal is unique to each face. The normal faces outward in the direction that departs from model’s surface.
The problem occurs when the direction of the surface normal is inadvertently reversed while executing extrusion command during modeling process. Apart from extrusion, the problem can show up during usage of other modeling tools commonly used.
After reversal of the surface normal, the directional vector starts pointing towards model’s interior.
To fix the problem of reversed surface normal, you need to identify the existence of the issue in the first place. By default, you cannot view surface normal. To spot the problem, you will have to tweak certain display settings.
If you are working in Maya, navigate to View and then Lighting to deselect ‘Two-sided Lighting’. After you have disabled the same, all faces whose surface normal have been reversed become pitch black.
Next, select such faces and browse to Polygons menu for selecting Reverse from Normals.
It is a desirable practice to check the surface normal periodically during the designing process. Even if you are not planning to print the 3D model, this habit is recommended. In all 3D printing software programs, the process for setting right the surface normal is almost similar. The help manual of respective package can be checked for further guidance.
Useful Article : Top Things You Should Know About Surface Modeling
Step 5: File Conversion
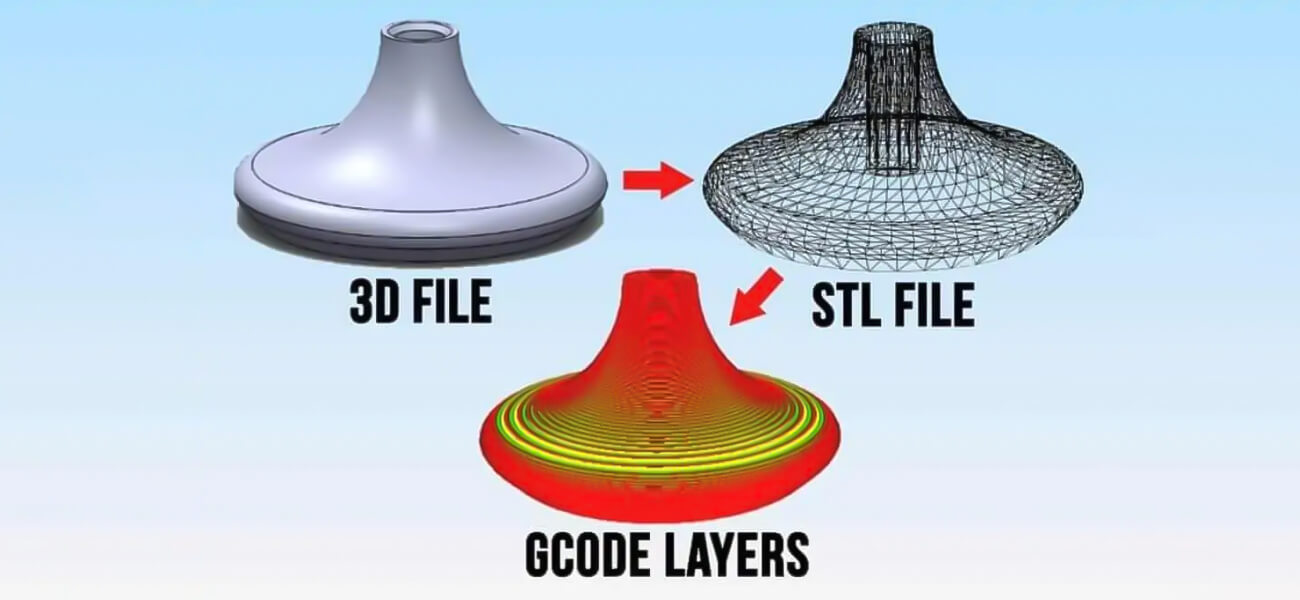
Prior to uploading the model for printing, one final step you need to initiate is to ensure that the model is available in compatible file format. 3D printers usually accept files in the VRML97/2, OBJ, STL, Collada, and X3D formats. However, it would be prudent to check out with the print vendor to learn about the file format in which you have to dispatch the model.
It is to be noted that application formats commonly used like .max, .ma, and .lw cannot be used. Model in Maya needs to be exported as an OBJ or has to be converted in STL file format with external software. However, 3DS Max allows model to be exported in OBJ and STL formats alike. It is better to go with OBJ format because of the versatility you stand to enjoy during printing.
All print vendors have their specific preferences of using file formats in different industries. You need to adhere to the same for impeccable outcomes. Also, you can view the performance of printers for different formats which would help you choose the best 3D printer later on.
Step 6: Way Forward
Once you are done with the Maya mesh cleanup, it is time to get the models to 3D print. You will find many vendors offering 3D printing services. However, you have to carry out a bit of research to choose the best print partner. One of the best tips is to go through the samples put up on respective websites to get a feel of the product you are likely to get.
When you outsource 3D modeling, you need to explore the technical advantages offered by the vendor. Similarly, for 3D printing, you need to understand if the vendor has high end printer with high technical specifications. The finesse of final model that you would have in your hands would depend largely on technical brilliance of printer.
Once you are aware of the printer which is going to be used, go through the instructions meticulously. The permissible wall thickness is another thing that needs to be taken care of during the design of 3D print models. This is because if you choose to scale up or down the model, the wall thickness would increase or decrease accordingly. Wall measured in feet or meter would become abnormally thin when dimensionally reduced to inches.
Bonus read: Benefits and Industry Applications of 3D Printing
In case any additional constraints are provided by your vendor, then make sure to consider it as well. They have experience in handling similar kinds of projects and utilizing their suggestions will help you in covering the job more successfully.
Contact Us