3D Hard Surface Vs Organic Modeling (Differences)
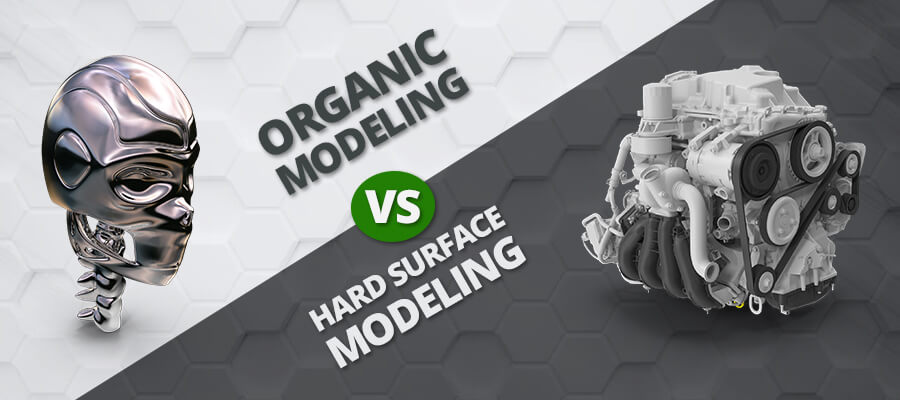
Organic and hard surface modeling are two advanced variants of polygonal modeling. For developing models, techniques of different types are used for each modeling type. The names of the modeling mechanisms suggest the difference between these two.
In organic 3D modeling, living creatures like human beings and animals are represented in 3D form. Inorganic substances like cars, furniture, construction elements etc. are represented in 3D through hard surface model.
Among these two modeling variants, a number of principles are similar. An aspirant has to practice consistently for developing expertise in these two modeling types or gain specialization in any one. Some people dispute the validity of elements that differentiate the modeling types as they believe that anything which is animated is essentially organic.
For example, a cardboard box’s 3D representation is necessarily a 3D hard surface model. However, since the model can be animated and its parts can be flipped, some argue that the model becomes organic.
Another example is that of a contemporary sports car with aerodynamic model that features many smoothly flowing curves. The car is an inorganic object. However, since the different curves in the mesh have been designed with organic modeling techniques, some argue that it should be classified as organic.
What is Organic Modeling?
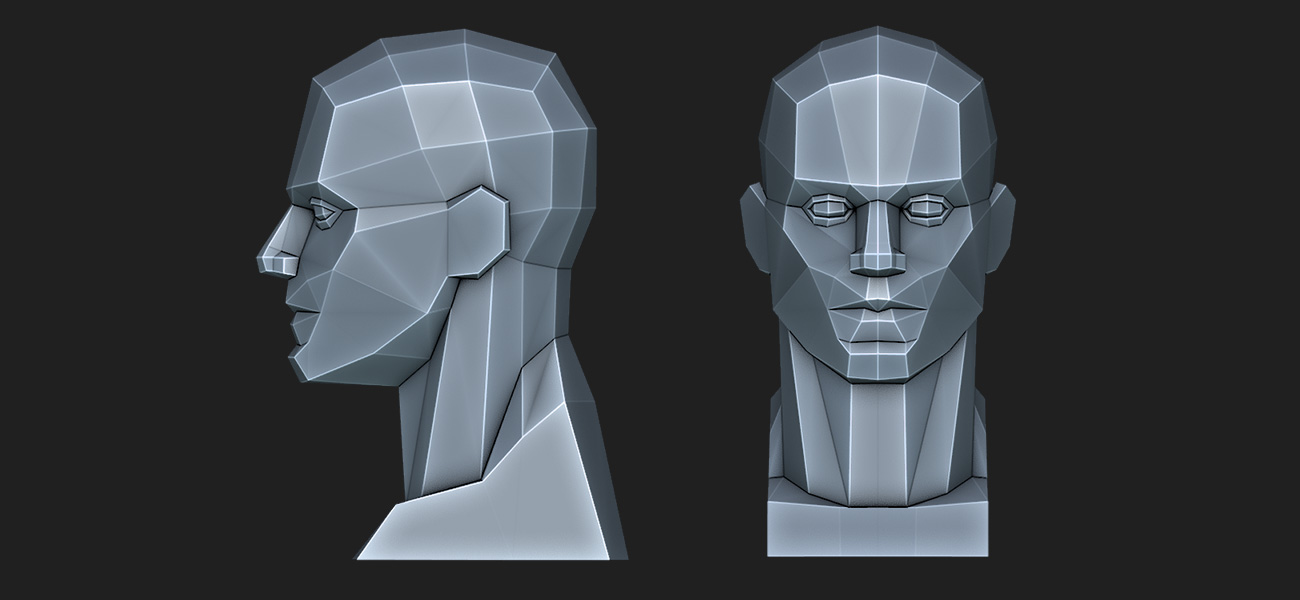
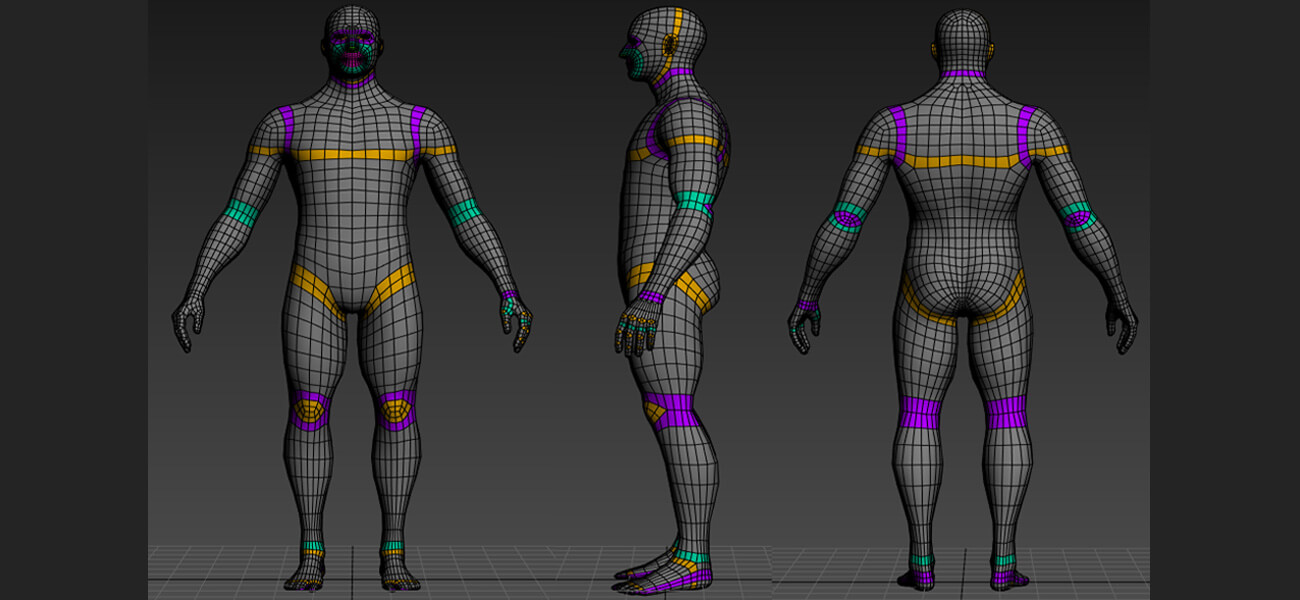
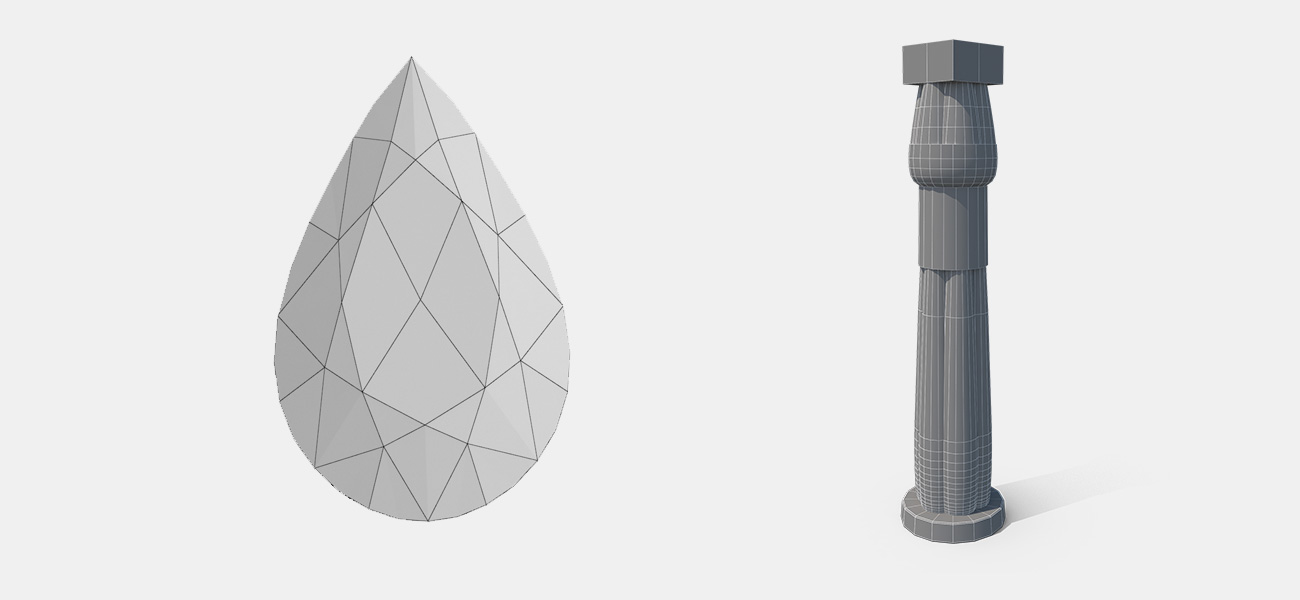
Organic modeling is a process that is related to the creation of organic 3D models like living creatures and more. Models of living beings are usually accepted as organic models. The models can be of humans, animals, trees, plants, etc. Organic models are also particularly used in 3D character animation.
It is desirable to use complete quads for developing organic models. The quads are polygons which are used for making the models 4-sided. The shape would not matter initially if the sides are four in number. This is because, polygons that have five or more sides (N-gons) behave erratically when subjected to animation or subdivision. So, you should try to avoid N-gons as much as possible in modes, typically in models of organic objects.
Complete organic models can be created in 3D modelling software. However, the finished model is usually imported in sculpting software for addition of subtle details. It is comparatively simpler to add skin folds or wrinkles on human skin in ZBrush than in 3DS Max
The skin variations are exported as texture and then assimilated in model for adding finer details.
To excel in 3D organic modeling, you need to practice for long. You have to browse through many reference images to understand the anatomy of the living object that you are modeling. This is important for adding realistic touches to the organic surfaces. For example, when you are working on muscular portion of body, you can refer the pictures of bodybuilders.
You need not exaggerate the muscles of ordinary humans as much as that of bodybuilders. However, with controlled exaggeration, you can depict clearly the starting and insertion points of the muscles along with their respective positions in the body. The knowledge of anatomy proves valuable in defining your mesh.
What is Hard Surface Modeling?
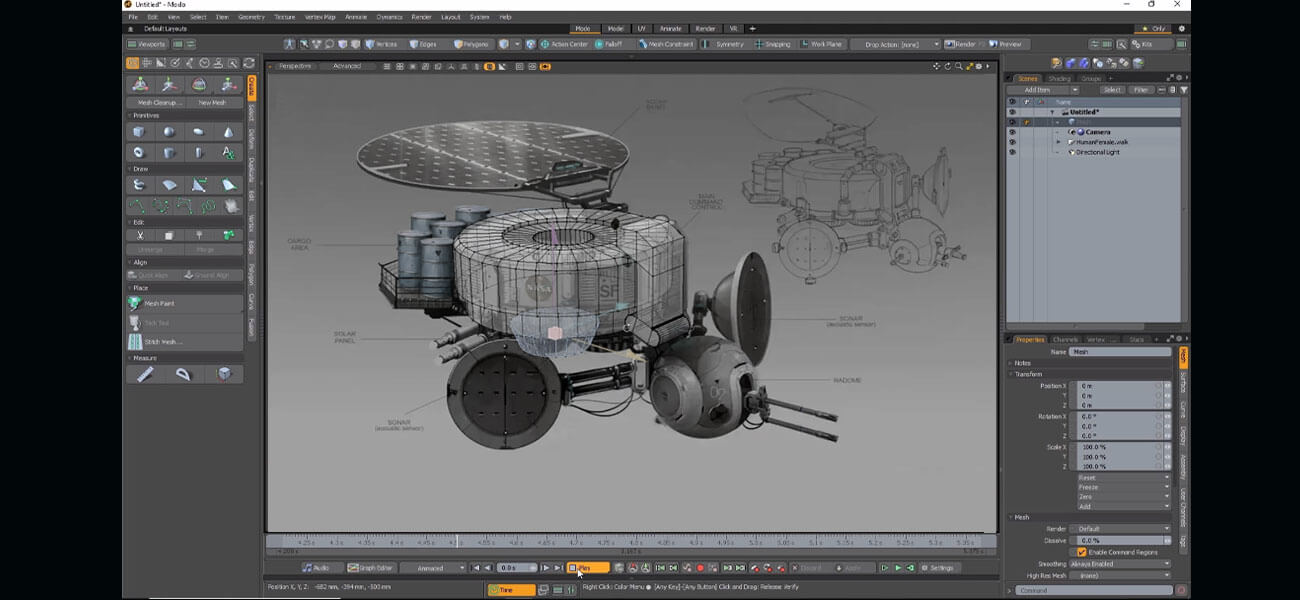
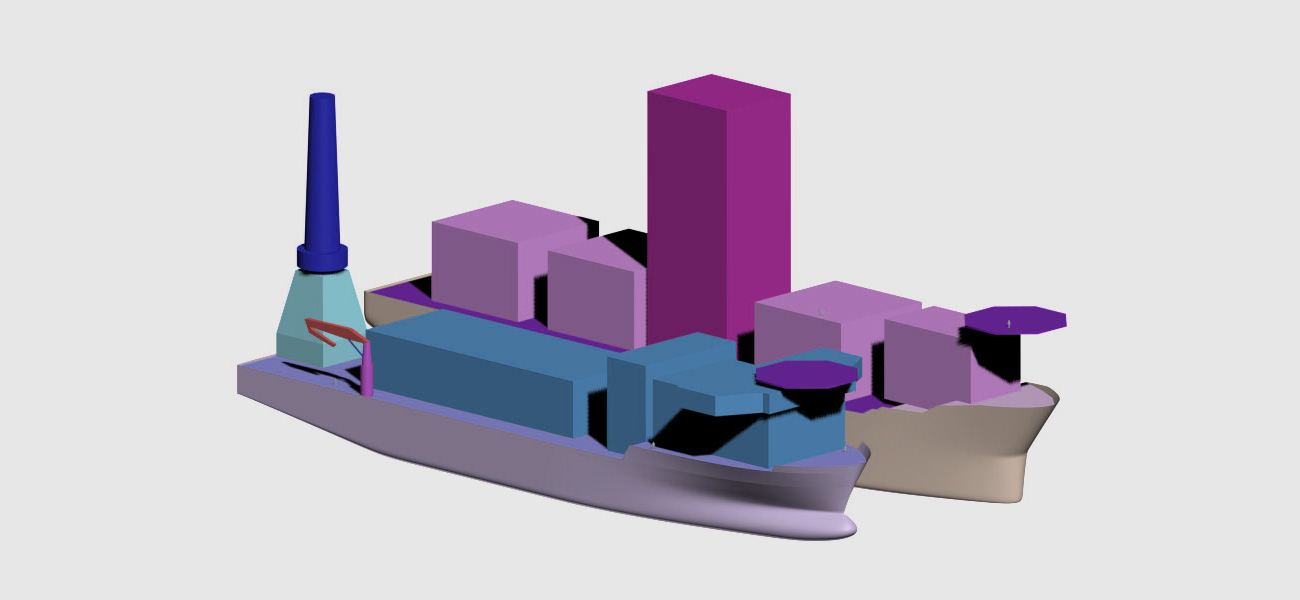
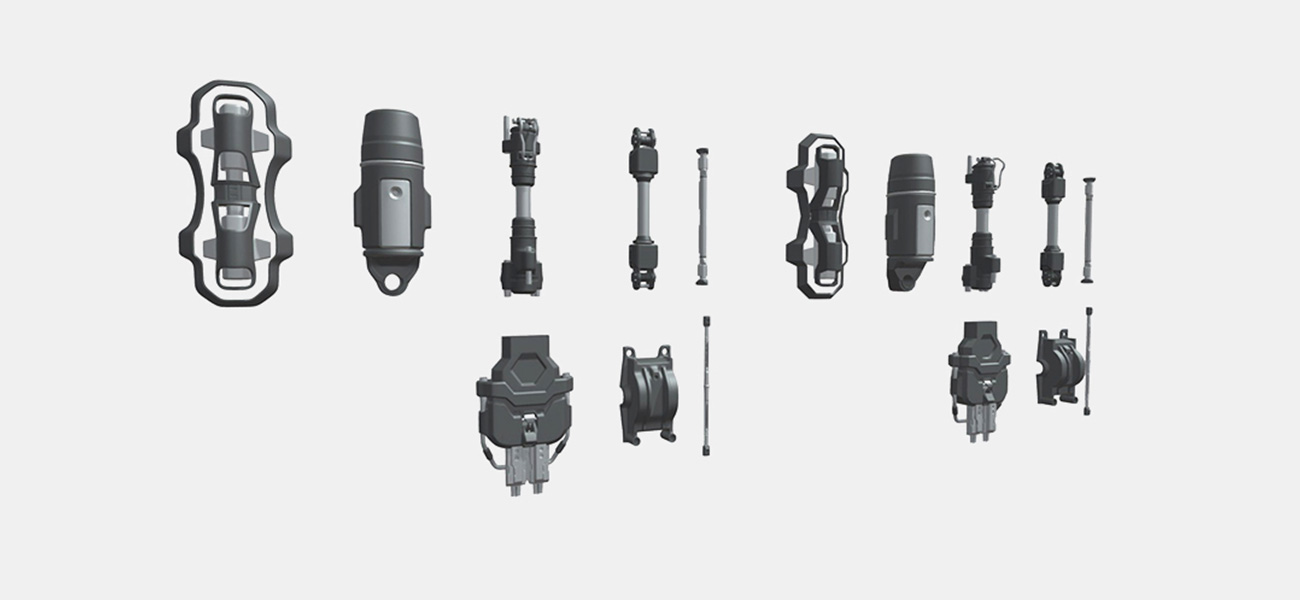
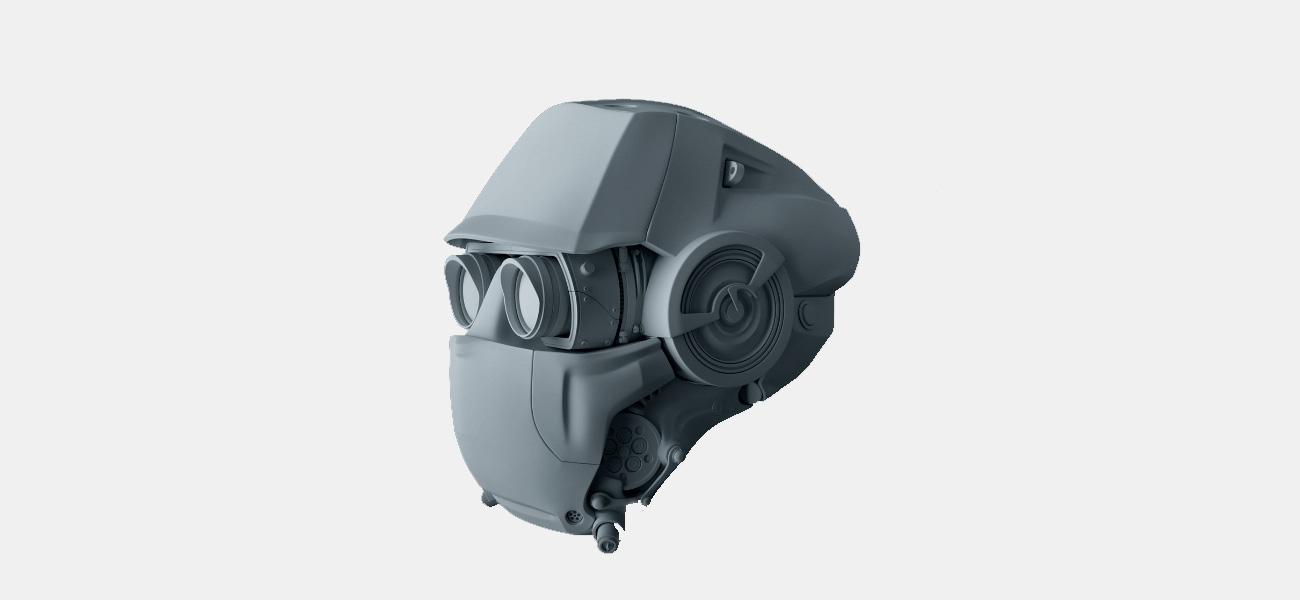
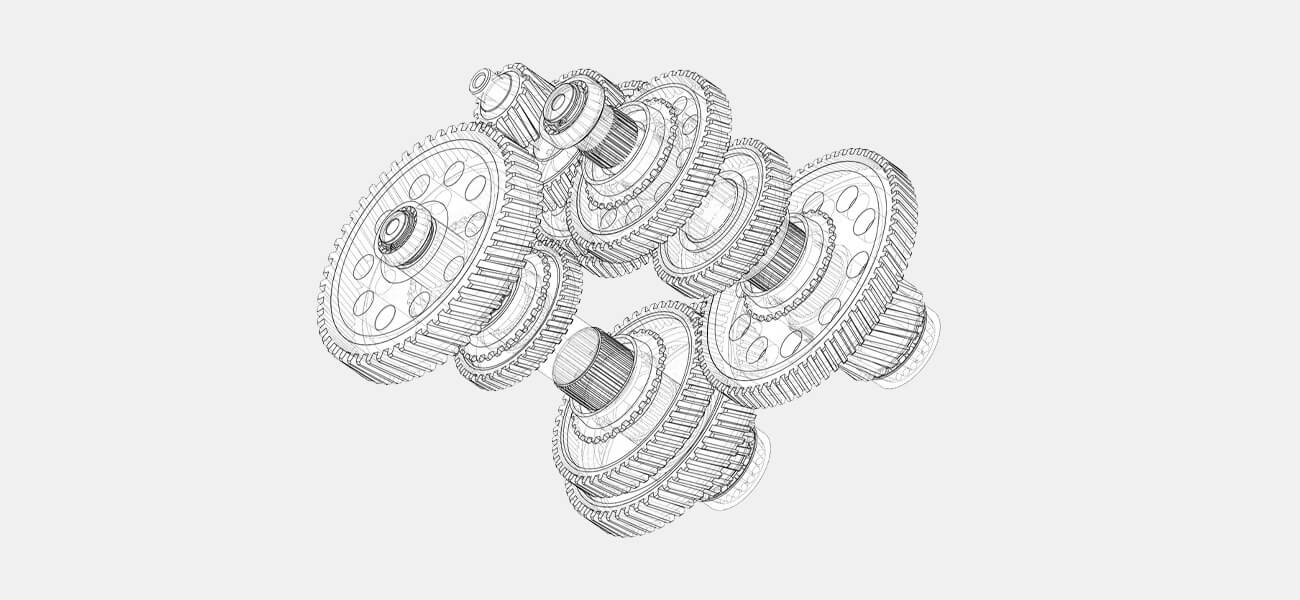
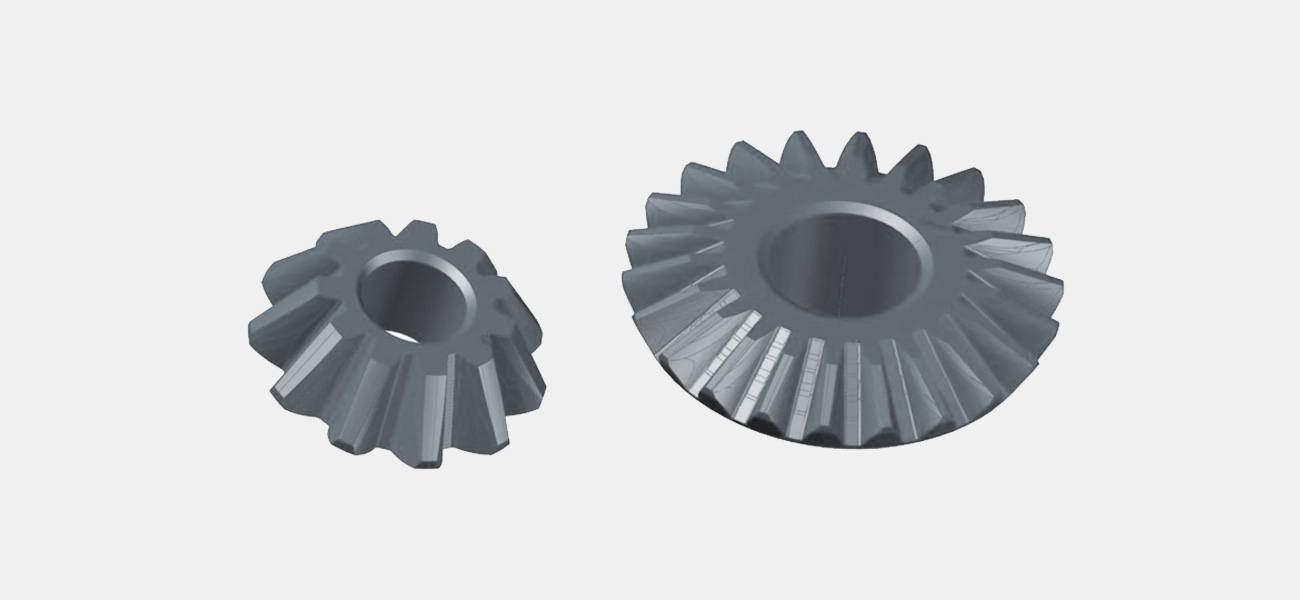
Hard surface modeling is a 3D modeling technique used for creating hard surface 3D models like machines, weapons, and any non-living objects. It is more into the creation of inorganic 3D models (non-living) like furniture, buildings, cars, machines, weapons, robots, armour, and more. This is ideal for video games and science fiction.
If you want specialization in 3d architectural visualization, you have to focus more on hard surface modeling compared to organic modeling. However, the differentiating lines between the two modeling types get blurred at places. The sofa on which you sit is flexible and its model carries many folds and curves for realistic looks. Some would argue that it is not a hard surface model due to the curves.
In surface modeling, 3D art is the starting point for learners for getting accustomed to the workflow of the software they prefer to work in. It is important to understand the collective working of polygons. Modeling flat edges are easier compared to faces that contain a large number of curves and folds. Exceptions are always present.
During modeling hard surfaces, you need to rely on high quality reference images of the product that you are reproducing. This is similar to 3D organic modeling. If buildings or cars have to be modeled, you need to get access to blueprints that can be imported in to the 3D software’s plane. Effective tracing of the same would help you get the optimum proportions.
The differences between organic and hard surface modeling are not clearly defined. There are some major differences though which you would come across during the course of this post.
Tips and Tricks for Organic Modeling
If you are a novice to 3D modeling, your first brush with modeling must have occurred some 2 decades ago when the computer-generated dinosaurs of Jurassic Park movie romped about on your television’s screen. However, 3D modeling as well as animation have surface long back and were used for creating fantasy characters and hyper-realistic objects for motion and animated movies.
3D asset, individually or collectively, is used in various segments such as movies, gaming engines, television shows, online marketing, webpage, educational content, medicinal pamphlets etc. The career of 3D artist has become a promising one due to the increasing application of 3D in a wide array of fields. The specialized knowledge and advanced skills required to succeed in this domain have tobe acquired with due practice. Also, you need to develop proficiency in more than one 3D software for creating captivating 3D objects.
Advanced 3D modeling packages offer a wide array of features. You need not focus on learning the application of all the tools available as it can be confusing. Based on your preferences, you need to learn only the tools that are aligned with your skills. The major areas that require your attention include subdivision modeling, voxel-based tools, retopology, and normal maps.
-
Honing Your Drawing Skills
To grow into a competent organic modeler, you need to understand anatomy as well as topological features properly. In some cases, you may need to develop the concept of 3D character by drawing the outline. For this, you have to factor in anatomical make-up of body so that changes can be made in real time before starting with the development of 3D model.
It is recommended that you draw out different images of the model from various perspectives and viewpoints. This would give you a holistic view of the body components and bones so that you can make the outcome more realistic. To excel as a 3D artist, you need to invest quality time for learning how bones and muscles coordinate together and render momentum to the skeleton of quadruped character.
-
Learning Basic Concepts of Anatomy
For becoming proficient in drawing lifelike images, you can consider enrolling in drawing classes where lessons are imparted from anatomical point of view. With practice and experience, you can hone your skills. You can also engage in self-study for learning how bone groups and muscles are conjoined and interact with each other.
As your familiarity with anatomy grows, the 3D characters build by you start getting more lifelike. Life-drawing classes are also organized by Indies and for aspiring and accomplished artists.
-
Understanding Form and Volume
Irrespective of the modeling technique (digital sculpting or polygonal modeling ) used by you, you need to pay close attention to the character’s form and entire shape. The model needs to be worked on from various angles. You should not be in a hurry to add details.
The accuracy of shape from different perspectives should be ascertained. Modeling should be done in top to bottom direction for getting the complete picture clear.
-
Knowing About Topology and Edge Loops
If 3D animation interests you, you must develop functional knowledge of character’s topology and edge loops. This is important for rigging the model. You creative and artistic instincts have nothing to do with character rigging. Instead, essential technical rules have to be followed.
If subdivision modeling is used by you as a 3D modeler, you need to ensure smooth flow of edges in particular mesh regions. Your proficiency in anatomy would play a vital role as anatomical concepts of real-life resemble edge flow closely. You must have observed the muscle ring encircling the eye or mouth. It is an example of edge loop. For good animation, this edge loop has to be created properly. Else, rigging and animating would become a challenge. The character deformations would be bad and movements upon animation would be unnatural.
-
Using Subdivision Modeling
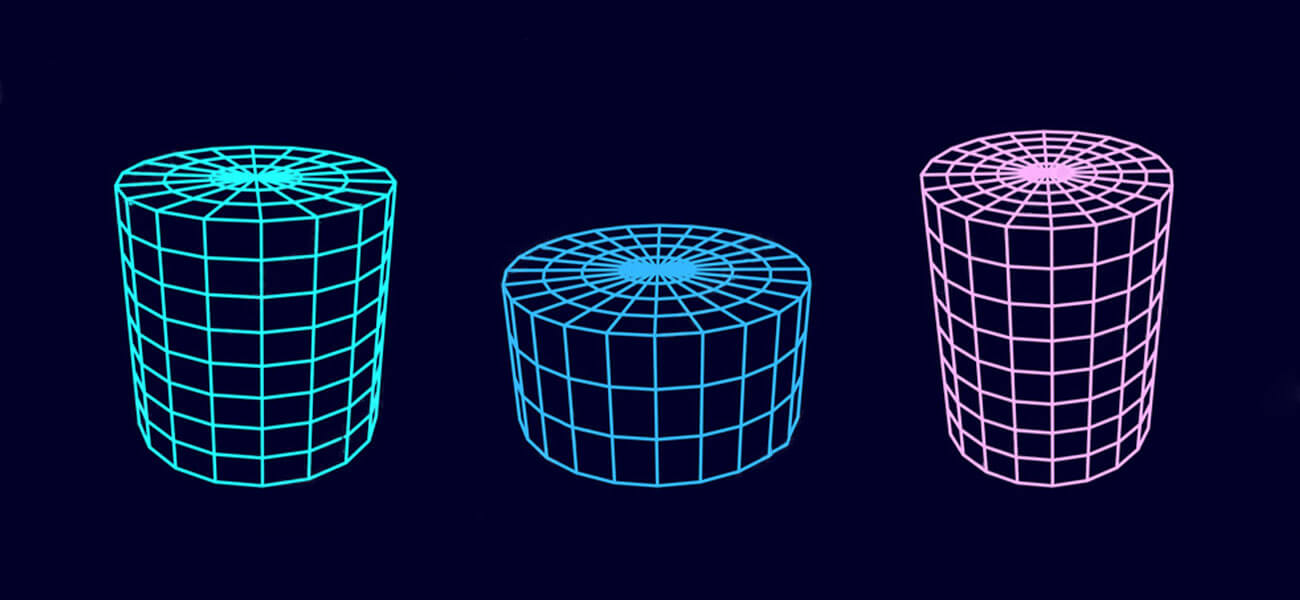
Irrespective of the 3D CAD software used by you, you need to divide and round polygons for achieving seamless models. This keeps the number of polygons lower and also allows results to be more natural. Also known as subdivision modeling, this method allows you to switch between unsmoothed and smoothed modes during 3D character modeling.
In subdivision modeling, every polygon is divided into 4 smaller ones and then rounded off. For achieving smoother meshes with better rounding, the subdivision level can be made more. You can subdivide meshes in all major 3D modeling software such as Maya, Cinema 4D, ZBrush, 3DS Max etc. Later, the meshes can be returned to normal level. You can carry out refining of model’s form and look easily.
-
Modeling with Quads
Modeling should be strictly done in quads. Triangles should be rarely used and N-gons should be avoided. Quads are highly predictable and the models are not impacted by bad artifacts during 3d rendering. While carrying out quad modeling, triangles also get involved as every quad is comprised of 2 triangles when quad is divided into 2. N-gons should be avoided as unexpected issues can show up in some 3D software during dividing and rendering. For some cases, you can use N-gons but it is better to use quads.
-
Combining Edge and Box Modeling
To excel as a 3D modeler, you should focus on mastering maximum number modeling techniques and methods. For creating awesome and realistic 3D components, different modeling techniques and types of various 3D software can prove useful. During modeling delicate body and face portions like nose, ears etc.; edge and box modeling methods can be combined.
In box modeling technique, a simple shape like the box is used for starting with modeling. Cuts and polygons are then added over it. In edge modeling, some points can be extruded or strung together before adding further geometry to the polygons present. You must learn both these techniques as they can be leveraged for creating stunning 3D assets.
-
Using Retopology Tools and DynaMesh
DynaMesh is a digital sculpting tool available for ZBrush users. You can create awesome 3D characters and realistic creatures without exporting models of ZBrush to other software. Subdivision modeling is used at the root for creating models. In subdivision modeling, you have to appreciate the fact that pulling out any model’s part would result in stretching of the connected polygons as well. However, with DynaMesh, you can get this problem solved easily.
ZBrush takes care of the polygons in the backdrop and as a 3D artist, you need not worry. With DynaMesh, you have to concentrate on the model’s form and silhouette only. Since DynaMesh also factor in rules of topology, you need to learn about retopology tools. If the 3D model has been created without proper focus on the topology underlying it, rigging and animating the character would be a challenge. You can create a new low-poly base mesh on top of the high-poly model with proper detailing using advanced software like Pixologic’sZBrush, Foundry’s Modo, Pilgway’s 3D-Coat, Autodesk Maya etc. As a modeler, you can animate 3D assets easily. The retopology process should be used after the modeling has been completed. It facilitates rigging and animation of character in accurate and easier manner.
-
Adding Realism to Characters With Normal Maps
By using normal maps, you would be able to build low-poly models which would resemble real objects. Low-poly models find wide application in real time apps and games. Technology has progressed significantly. Despite this, contemporary processors and GPUs take time for rendering high-poly models for producing smoother results. Also, limitation is there on polygons’ numbers and textural sizes.
With normal maps, you can get high level of detailing without having to use large quantity of polygons. For extracting and applying a normal map to the mesh, you have to ensure that the mesh has UV coordinates. With a few simple steps, low-poly model can take on the appearance of high-poly one with more details.
All models cannot be subjected to re-topologizing and hard surface sculpting. This flexibility level can be enjoyed only in voxel-based software like Sculptris and 3D-Coat. You can leverage the potential of other tools to cater to specific requirements. However, with Sculptris and 3D Coat hard surface tools, triangles can be added, and models can be sculpted to the required volume. Voxel-based modeling tools are considered best for creation of complex shapes and 3D forms as you are not required to focus on edge flow and model’s topology. You can re-topologize the result for animating the model further. By learning voxel-based software tools, you can enhance your skill repertoire further.
Tips and Tricks for Hard Surface Modeling
If you aspire to become a hard surface modeler, you should add diversity to your skill portfolio. Some assume that hard surface is referred as a model with clean meshes, hard edges, smaller curves and tight hard surface topology. Some interpret hard surface objects as representation of any human made construction in 3D. Others take hard surfaces as rigid models which are static and would never be animated. Many objects can be created using hard surfaces such as cars, robots, weapons, building parts etc. You can also excel in hard surface 3D modeling by following certain proven tips as discussed below.
-
Focus on Variety
 Explore various options
Stellar hard surface models feature exciting variations in shapes. You must, however, adhere to 3 prominent size or scale variations. You can explore various options like keeping a larger area devoid of minute details. You can also add minute details to a smaller portion so that the model appears interesting and also visually appeals to the eyes. Details should always be added in symmetrical manner by keeping technical integrity in mind.
-
Use Modo for Rendering
 Modo for rendering
You can apply the ‘Round Edge’ shader to all materials. During rendering, the rounded edge can be simulated. This would save you a lot of time during the conception stage. Try to use more number of Booleans in the work as MODO can handle the same efficiently without requiring fusion of meshes or subdivisions.
Plan the Shapes Beforehand
 Plan the shapes
You should always plan the features in the shape before starting with the work. Some of the beginners make the mistake of adding details to one portion of the model earlier without taking a holistic view of the design. Later on, they discover that the size or symmetric rules have been violated which calls for working again from scratch.
Block the Proportions
 Block the proportions
It is important that you block the proportions for successfully completing the model. Simple 3D organic shapes have to be put together in symmetric manner so that the model can function as a standalone mechanical device. You have to draw out the basic shapes relevant to the model you have been building. This would allow you to complete with the 3d modeling work quickly.
Create Your Unique Kit Bash Library
 Unique kit bash library
It would be good if you can develop your unique kit bash library. You can also access the libraries created by others. This would help you to improve upon your efficiency and speed.
Create Fresh Topology
 Fresh topology
Certain areas of the sketch would be more complex. With the topology brush, you can re-topologize these regions into discrete pieces. For thickness, you need to make the intensity of brush more than 0. After the new topology is in place, Snake Hook is to be used while pressing down Opt/Alt for sliding over the underlying geometry.
Refrain From Looping Edge Loops
 Refrain from edge loops
Edge loops can be managed efficiently with hard surface 3D modeling. This would help you create hidden holes in the mesh. While hiding a hole beneath another geometrical piece, there is chance of stray edge loops getting entangled with the shapes. You will also not be required to line up the hole with edge of the other side.
Save for Future
 Save 3D assets
It is a good practice to save the 3D assets you have built for later use. Each of the 3D designs can be put in effective use later on. With modular thinking, you can speedily execute tasks. By saving assets in larger numbers, you would be able to re-use the components in different future projects. The assets are similar to Lego parts which can be assembled in different manner for building cool looking 3D objects.
Understand the Interaction of Joints
 Interaction of joints
In Robotics, you would come across a number of restrictions on motion. This is the basis of a concrete design. The functional considerations take precedence over design. But, in 3D modeling domain, this can be considered as an illusion. You can excel by exploring more. By learning the mechanism of interaction of mechanical joints, you can make your initial 3D design more robust before sending the same for 3D sculpting.
Try to Bevel
 Bevel the edges and meshes
Before finishing up with the 3D hard surface models, try to bevel the edges and meshes. This would allow the light to react with the meshes during rendering. Hard edges are more artificial and are devoid of realistic feel. The standard Bevel tool setting can be put to good use. Hard surfaces should also be infused with softer elements or shapes that have been rounded sporadically for adding interest. The Bevel tool can be tried in the Bezier mode also.
Useful Article : Top 3D Modeling Tips for Beginners
Conclusion
In a nutshell, the difference can be derived from their names themselves. Organic modeling is a process that is related to the creation of organic 3D models like living creatures and more. Whereas Hard surface modeling is more into the creation of inorganic models like furniture and buildings.
This sums up the topic of the comparison between organic and 3D hard surface modeling. We hope our knowledge sharing helped you in understanding the topic in depth.
Want 3D design-related solution for your business? You can contact us now!
Contact Us