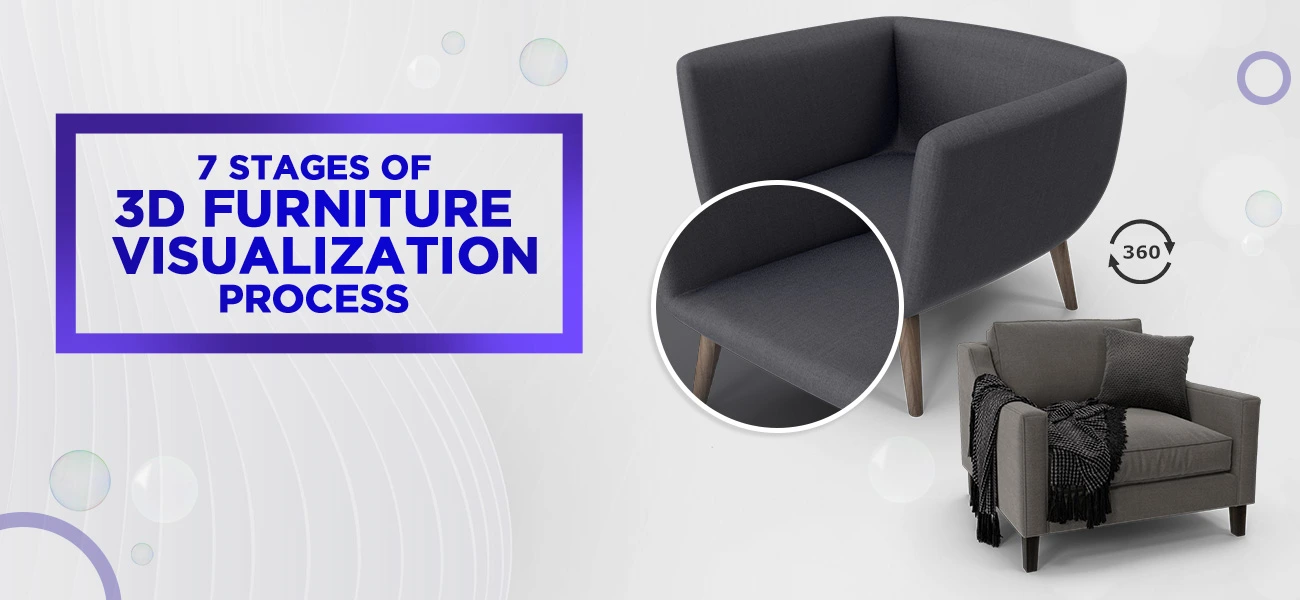
7 Stages of 3D Furniture Visualization Process
What Are the Important Steps of 3D Furniture Design Process?
3D artists put in a lot of effort and dedication in creating a 3D furniture model. It’s not as simple as it looks. But skills always pay off. If you have the right set of skills, then this article is sure to back your labor.
You must be wondering how some big shots of the furniture industry produce stellar quality 3D furniture designs almost indistinguishable from real-life photographs. Well, it is not that hard a nut to crack! You are simply a few steps away from producing similar quality outcomes.
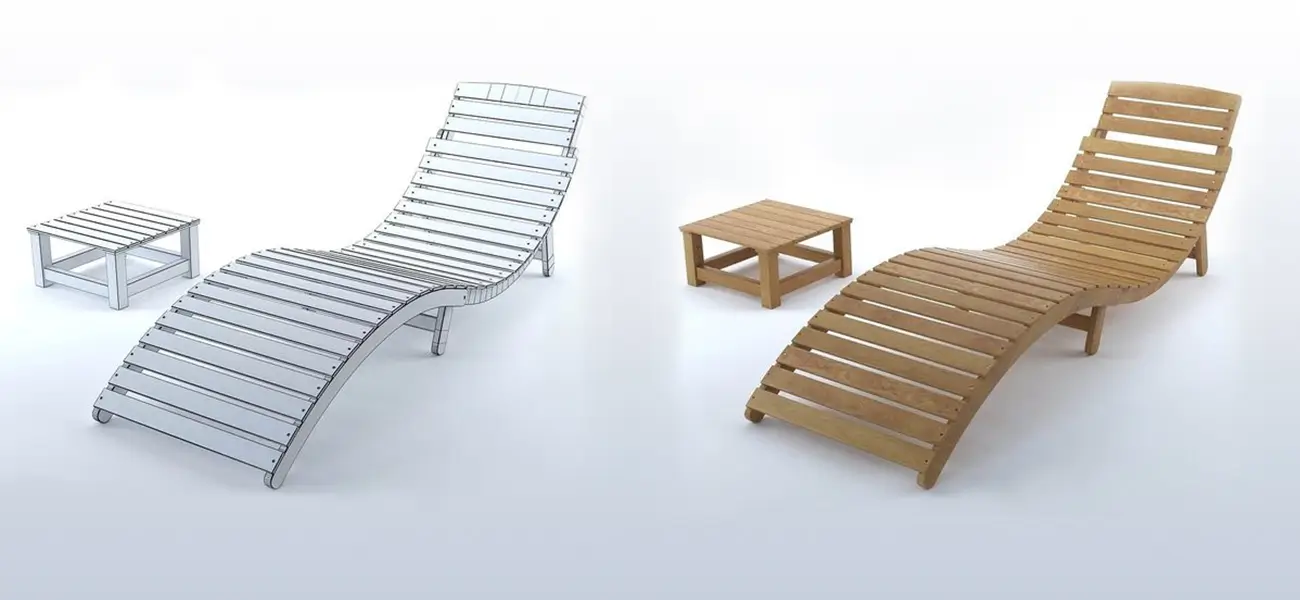
Create a 3D model of the furniture
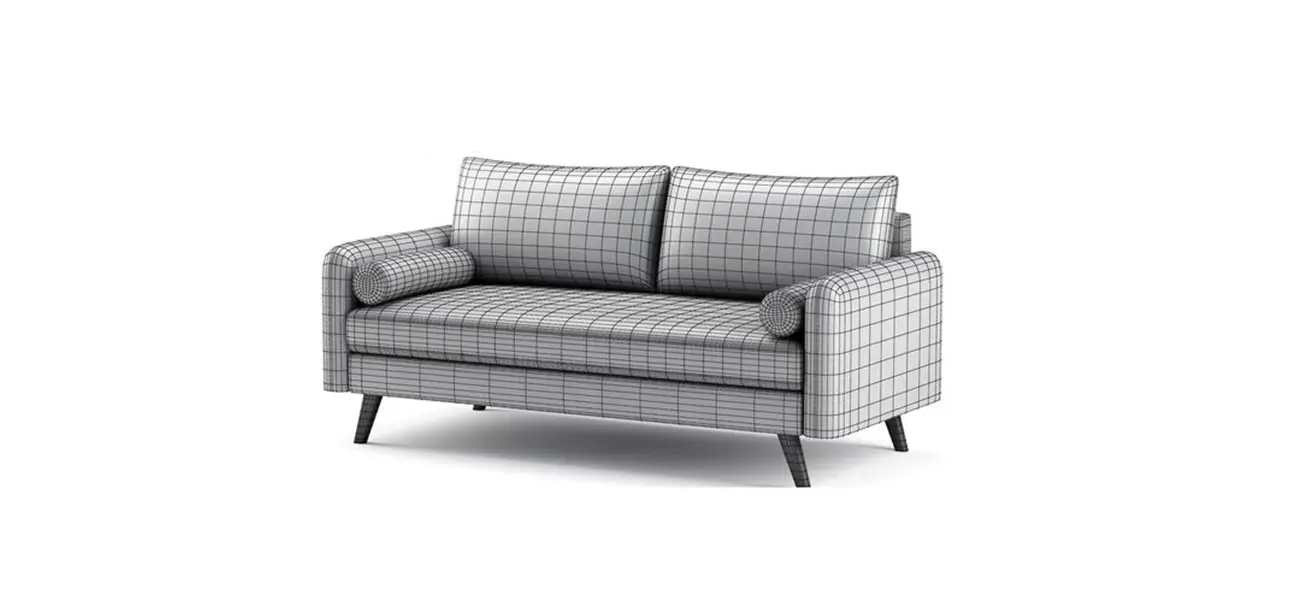 Frame a 3D model
The initial step to your creation would be framing a 3D model of the furniture. For this, you will require inputs from sources such as a hand-drawn sketch, a photograph or other potent references giving a basic idea of the look of the furniture.
Finally, at the end of this process, you will get the crude form of your furniture model ready for the next step.
-
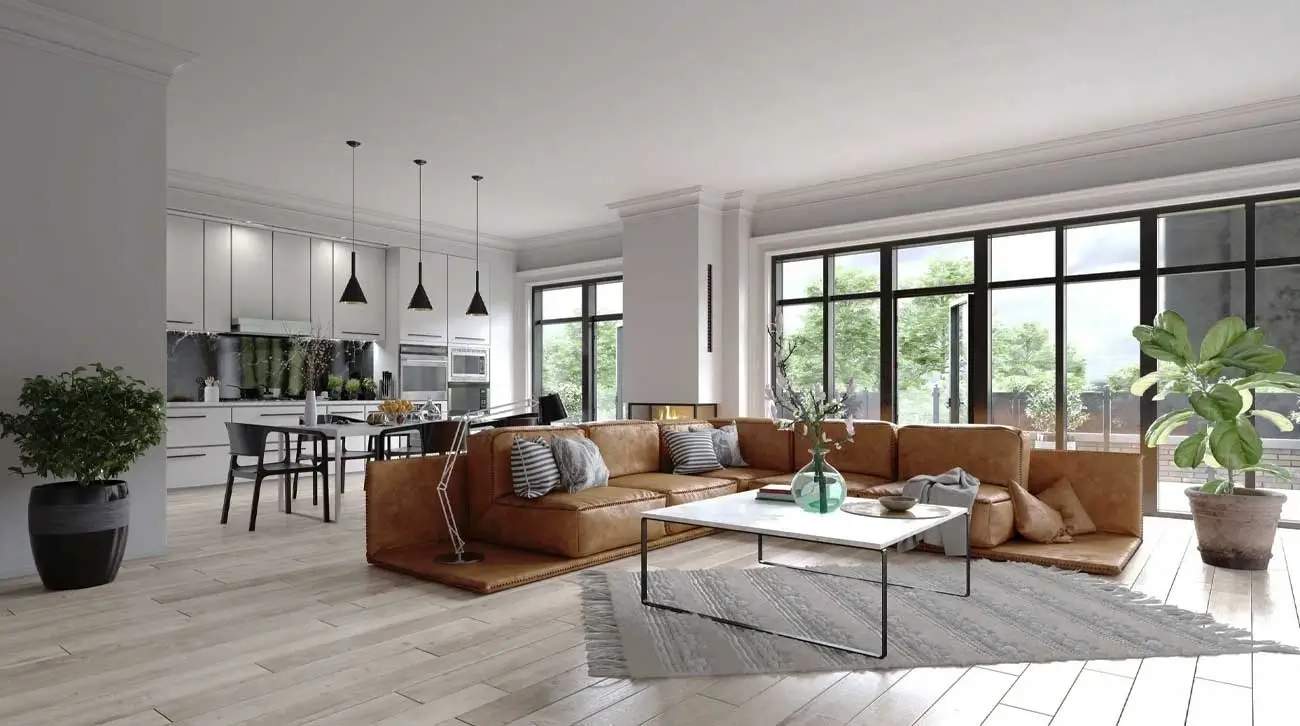
Set up the scene
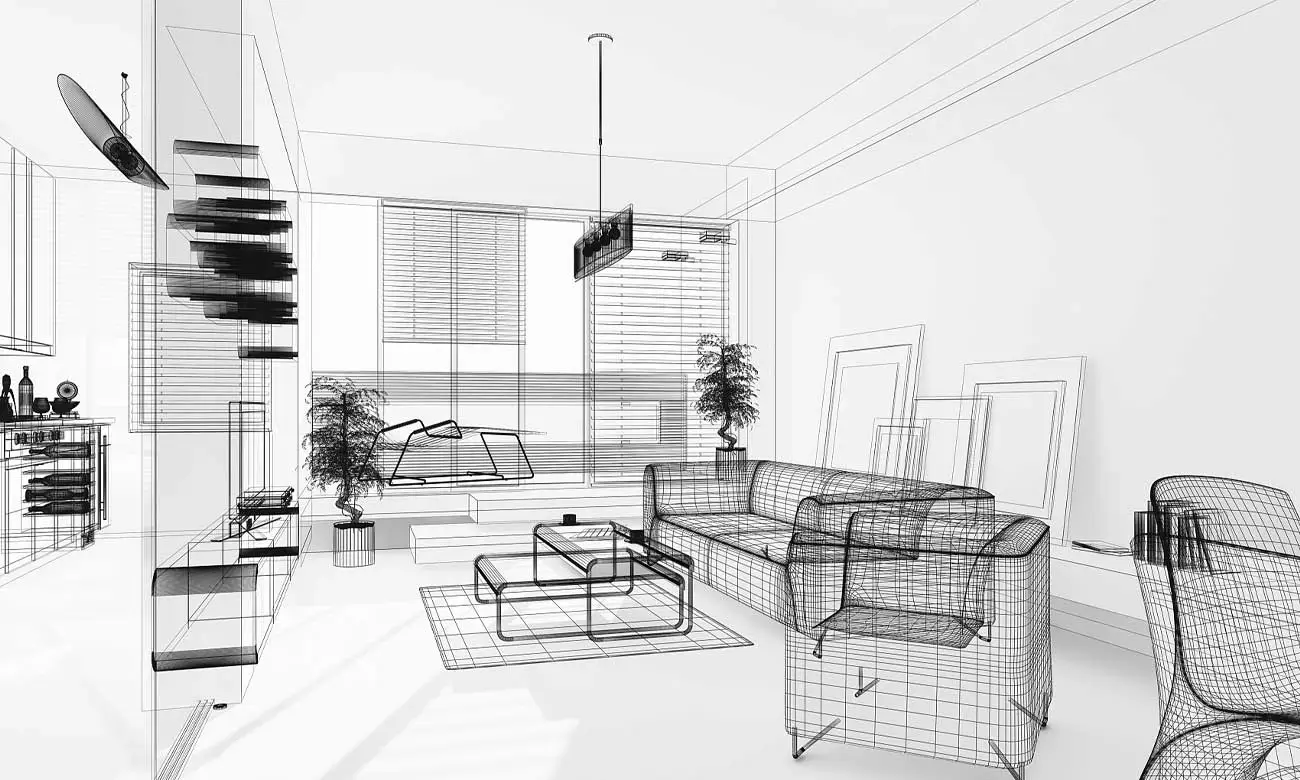 Scene setup
For this, you need to generate your idea of an ideal setting for the furniture with regard to its type. If you are already an artist, you can pick from your own collection.
However, if you are designing it for your customer, you can ask for a basic idea of the room where the furniture will sit. Running the model through this stage will give you and your customer a perspective of how well the furniture will fit in the room.
-
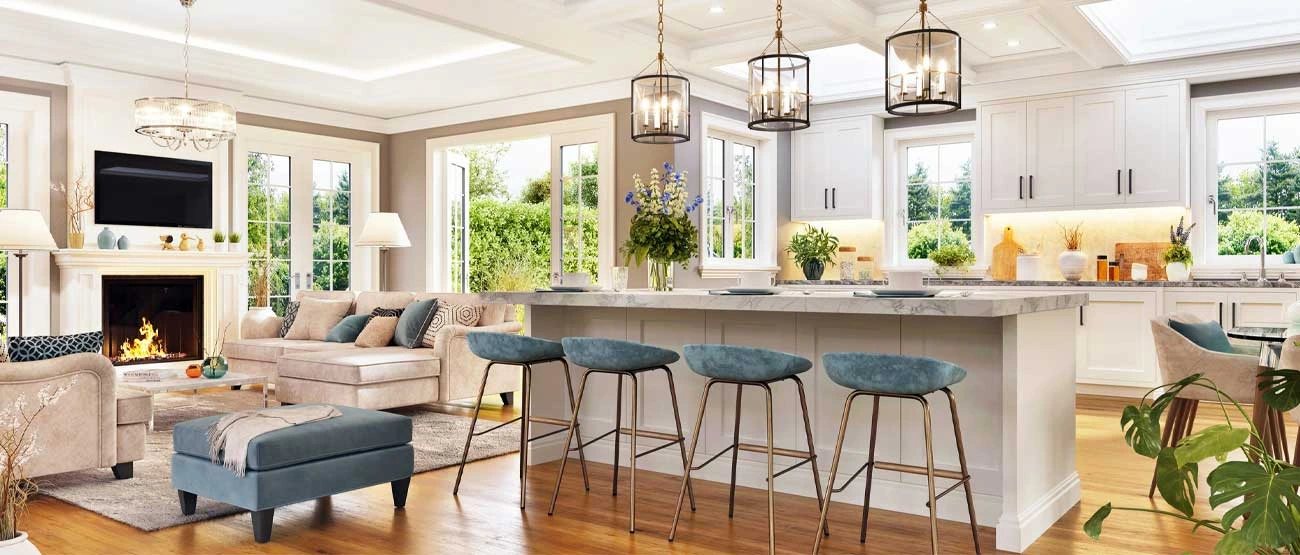
Adjust the lighting
 Light adjustment
At this stage, you will have to focus on adjusting the light source. This will primarily depend on the type of room layout you are using in stage 2.
Be careful at this stage, as the lighting in any 3D visualization plays a major role in formulating the product's final look. Don’t forget that the type of lighting you use is going to compliment your 3D furniture model. The model is now ready to undergo cosmetic changes!
Useful Resource : Lighting Techniques Used in 3D Lifestyle Environment Rendering
-
Add the texture
 Texturing
3D texturing is the process of adding suitable textures to the 3D models. Look for surfaces and textures that will enhance the furniture's appearance.
You can take suggestions from an existing collection or put your own ideas to use. Different texturing software programs offer diverse options for 3D model texturing.
-
Add extra beautifiers if needed
 Extra beautifiers addition
After applying the texture, your 3D furniture model is almost ready for final production. But there’s no harm in beautifying it more. You may add some suitable beautifiers concerning the type of furniture you are designing.
For example, you can add bedside lamps of a suitable texture if it is a bed. But remember not to overcrowd the final image, as it might ruin your effort.
-
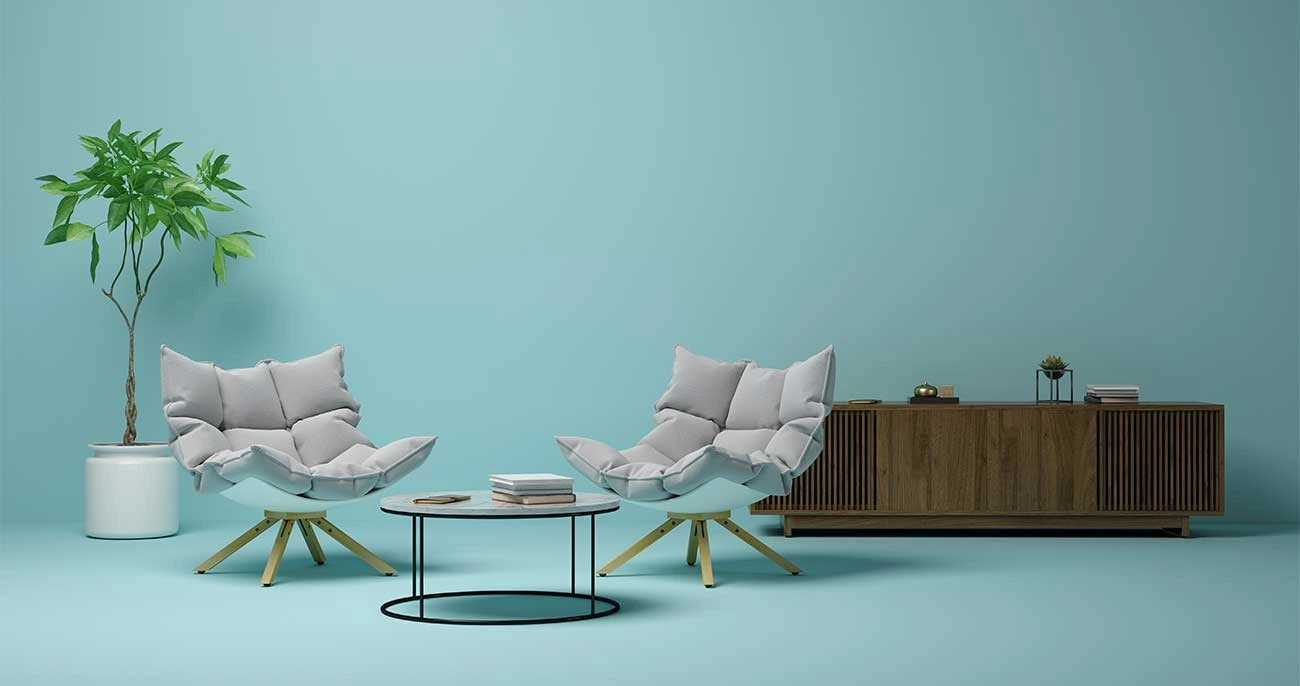
3D Rendering
 3D rendering
3D Rendering is creating a photo-realistic 2D image from a 3D figure. 3D Rendering will play a vital role in designing the furniture model, adding those extra details and depth to your 3D-designed furniture. The basic motto of rendering a 3D model is to grab the audience's attention as much as possible. So better the rendering skill, the better will be the returns.
-
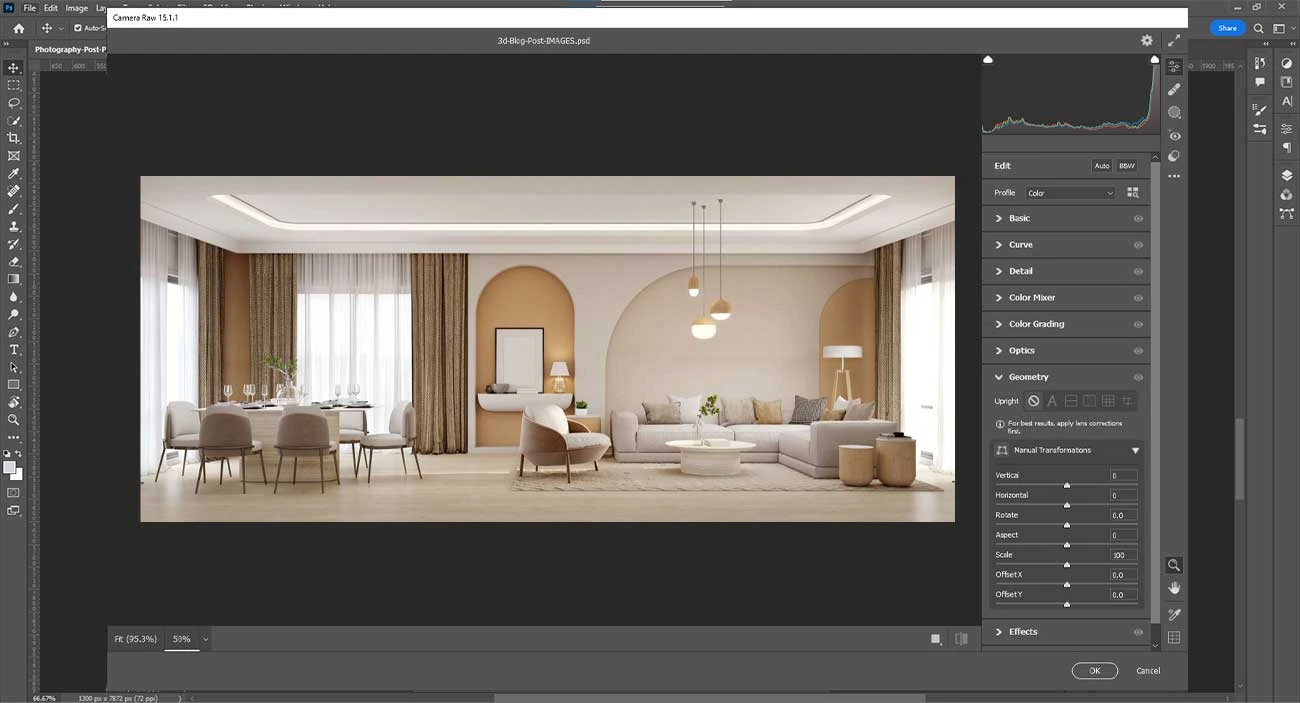
Adjust the color
 Color adjustment
This is the last stage before you get the finished look of your artwork. You can adjust the color of the final image and make it look as real as possible. For that extra edgy look, leverage any suitable photo-editing software.
Conclusion:
The furniture industry has been reaping the benefits of the 3D furniture visualization technique for a long time now. Professionally crafted 3D furniture models have changed the dimension of this industry enormously.
Useful Resource : Benefits of Furniture 3D Models Based on Business Needs
Now there are professional service providers backed by trained experts offering high-quality 3d furniture design services.
Make sure you have expert guidance to have your back, though!
Contact Us